Autumn Term From The Studio

I love Autumn especially living here in a country blanketed by forest. When the leaves turn it’s magical.

We do tend to get nice weather in Autumn and as I sit here it’s the first of September already the sky is blue and the garden is calling.

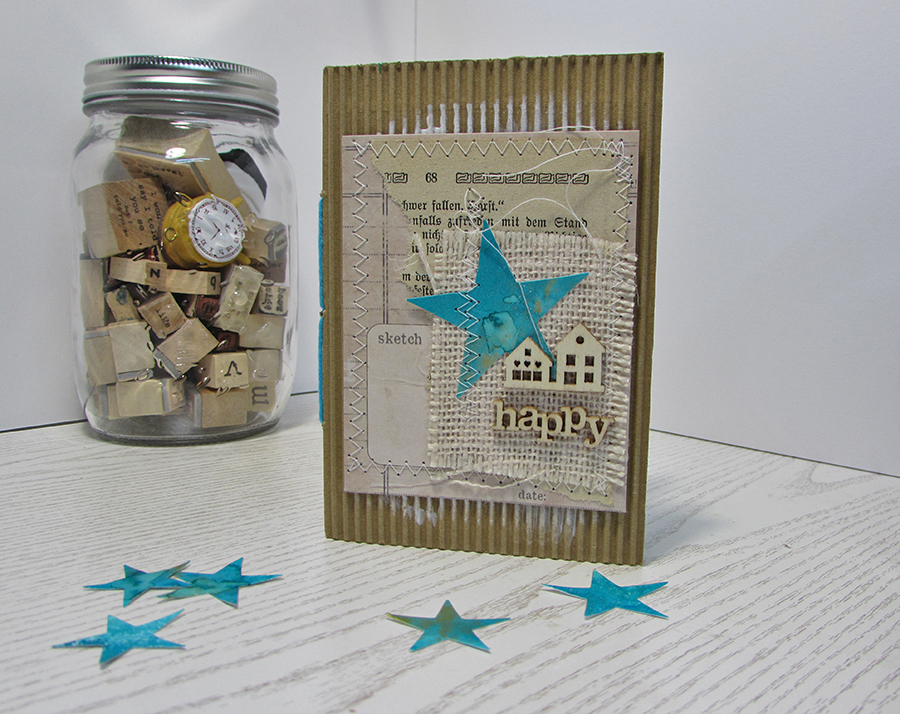
This Autumn I start a new chapter in my life which I’ll go into in a bit more detail about next week but for now I need a new planner set up to help me get ahead so I thought I’d work in my Carpe Diem from Simple Stories along with the new Forever Fall collection.

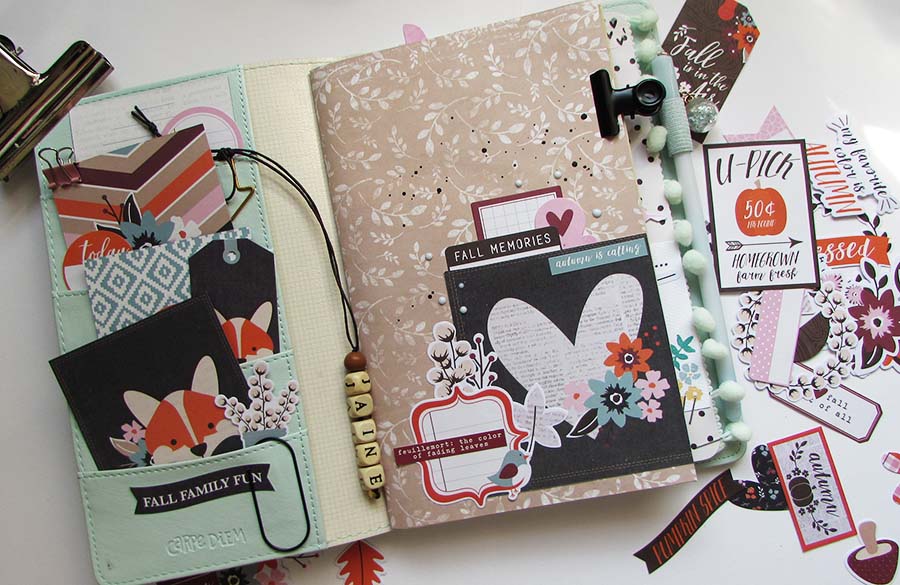
It’s an absolute gorgeous collection and the colours are right up my street.

I decided to make myself a wrap around for one of my inserts from a file folder which is so easy to do. I can’t take all of the credit for this one, I saw it once on the internet but for the life of me I can’t remember where I originally saw it so sadly can’t give the credit where it’s due.

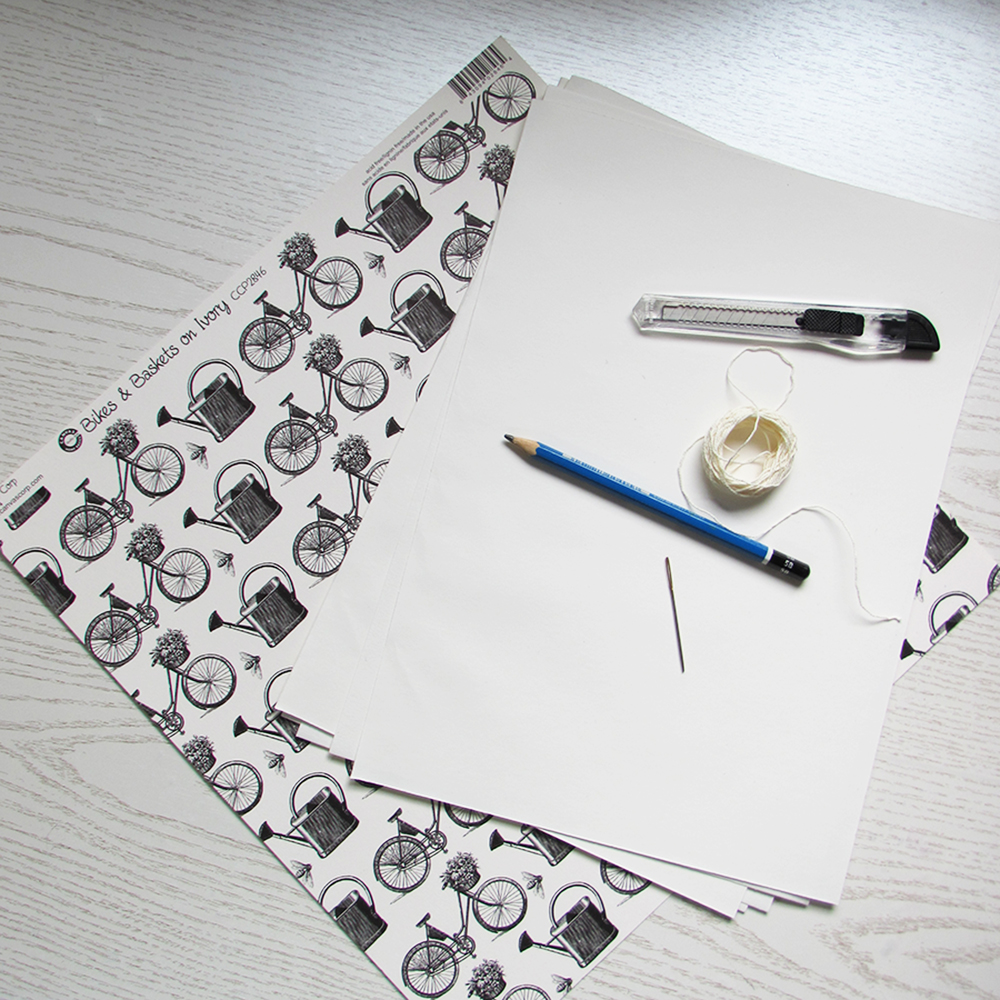
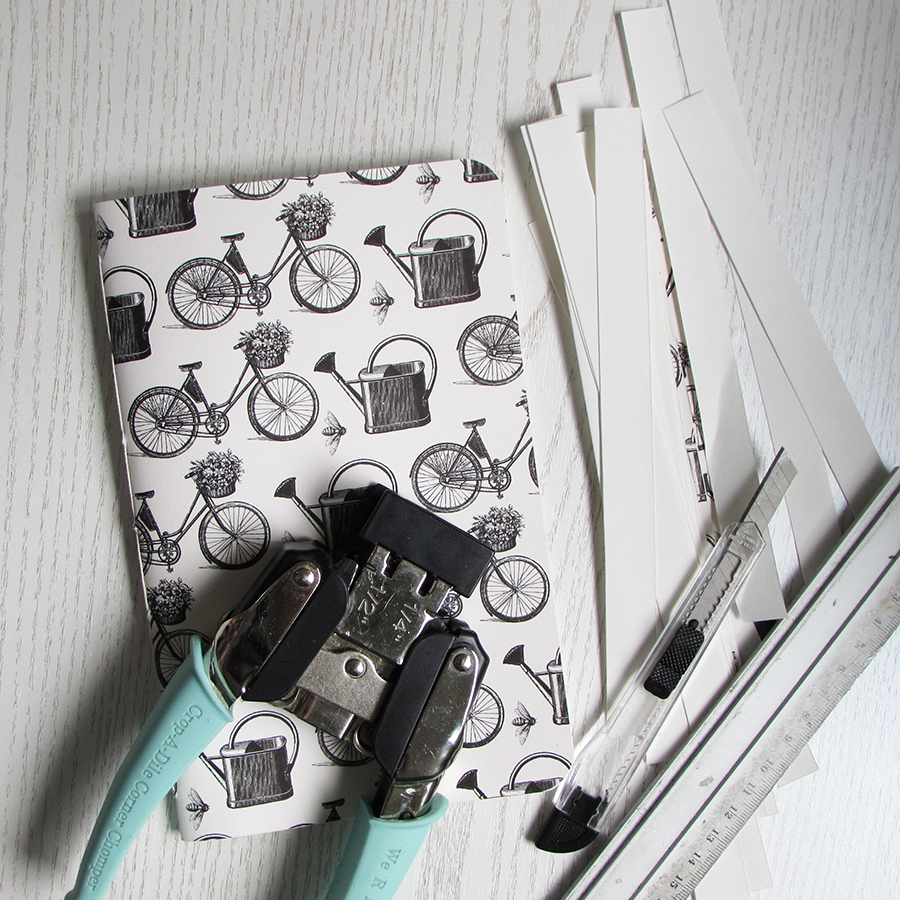
To make a wrap around pocket cover you’ll need to get hold of a card file folder. With school starting there are plenty around and you can pick up a pack of colourful ones for very little money. I just happened to have a few old ones which I found in the recycling centre which is what I’m using here.

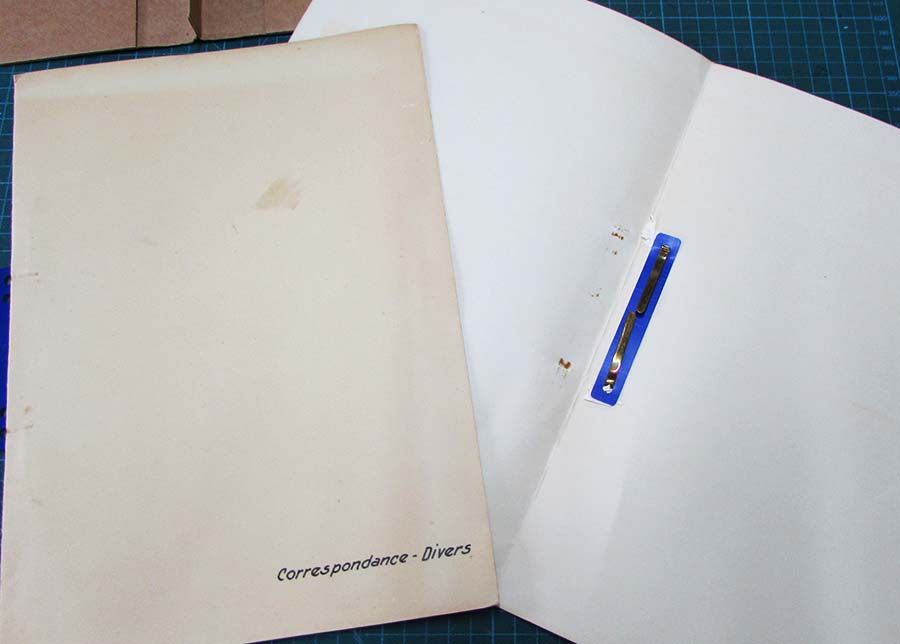
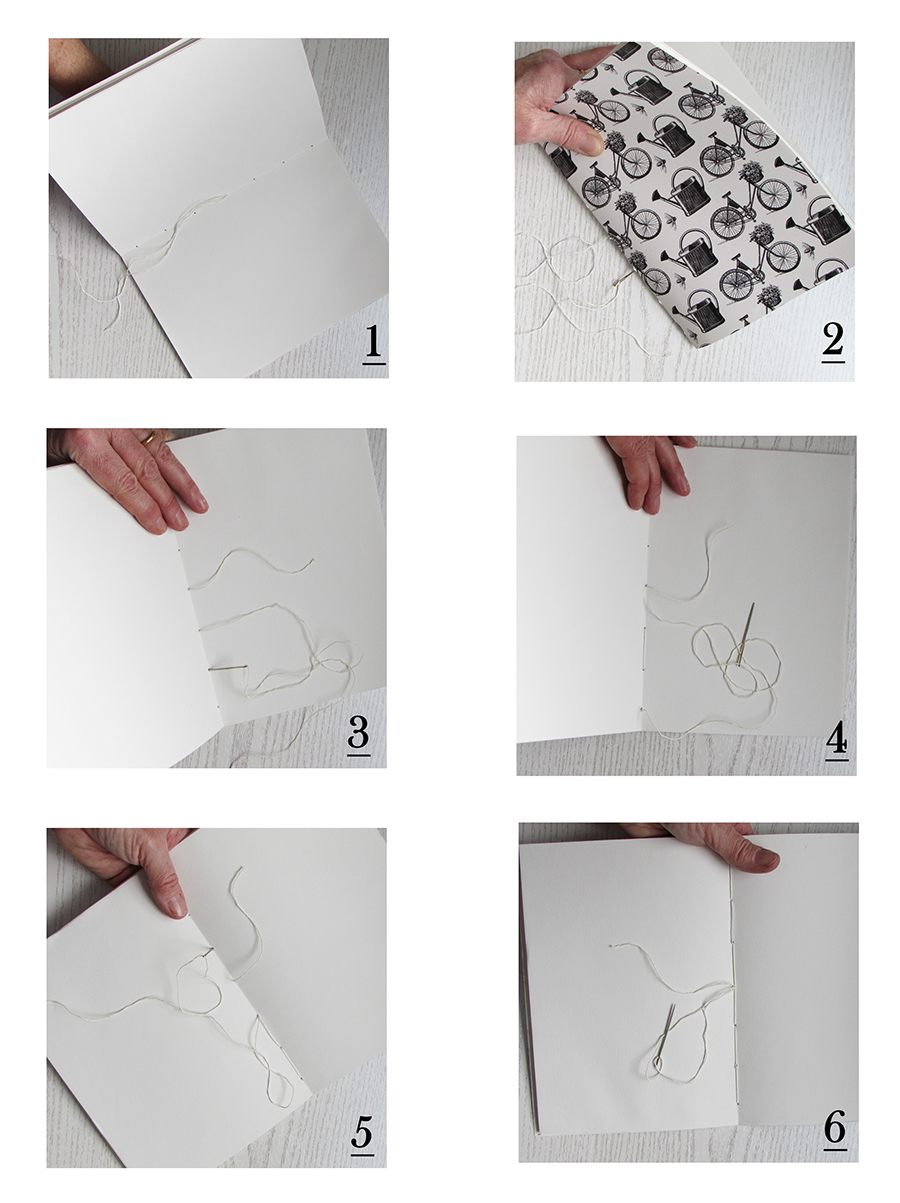
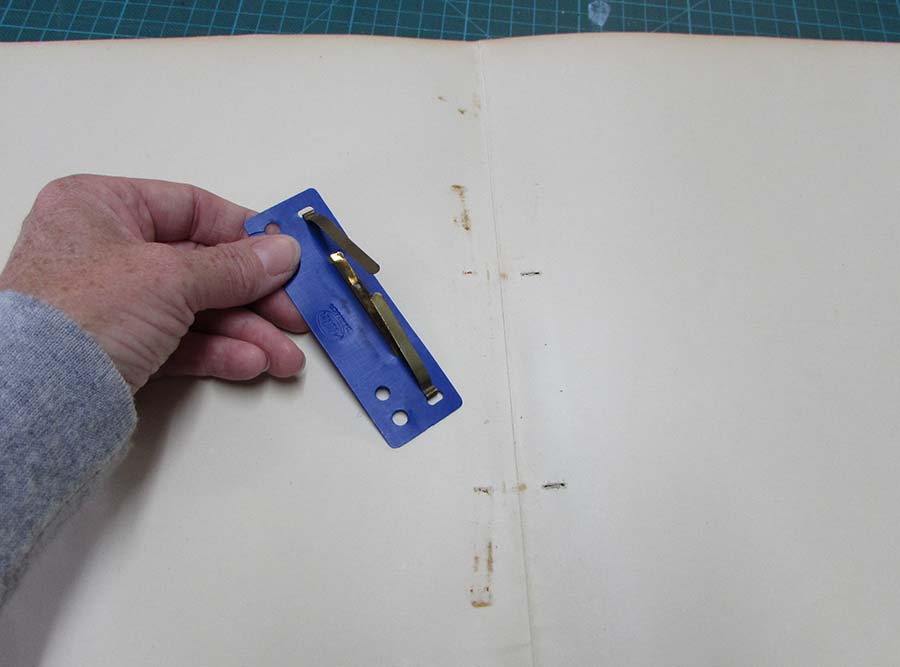
The first thing you need to do is take out the metal and plastic holders if that’s possible.  If you can’t do that with yours I suggest you work it into the finished design and take advantage of it.

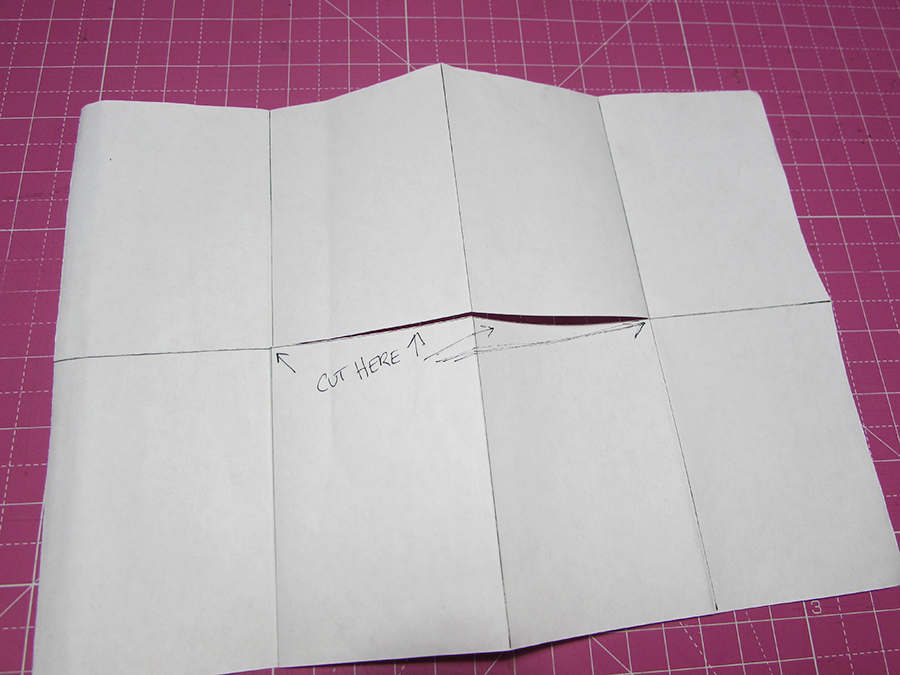
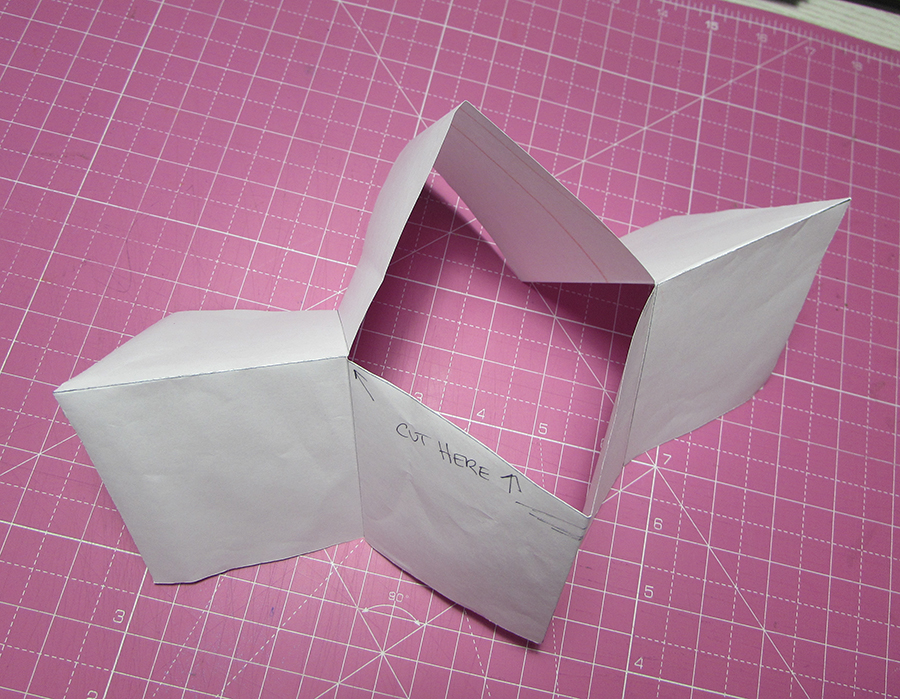
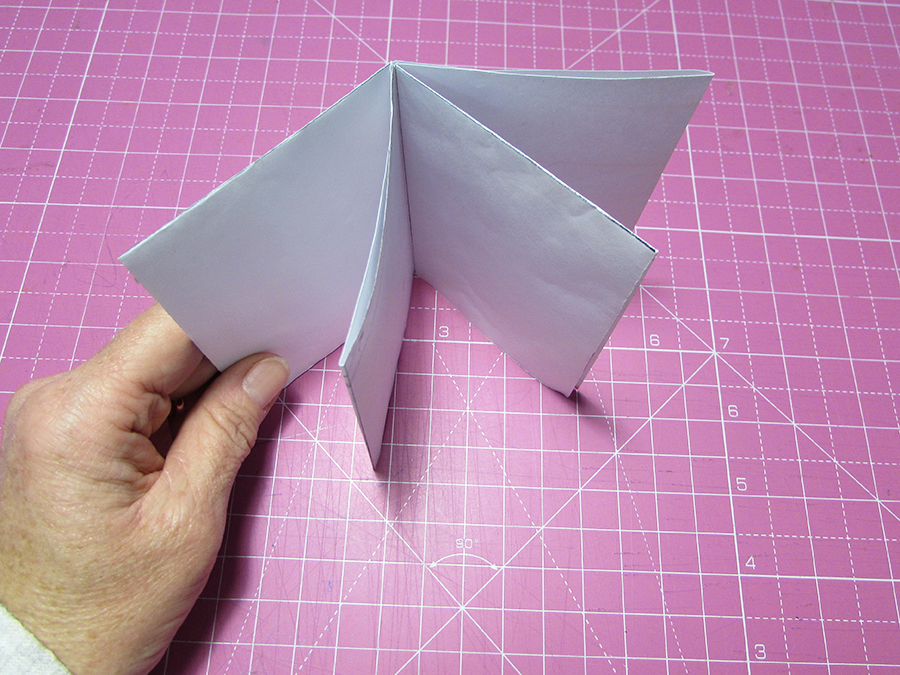
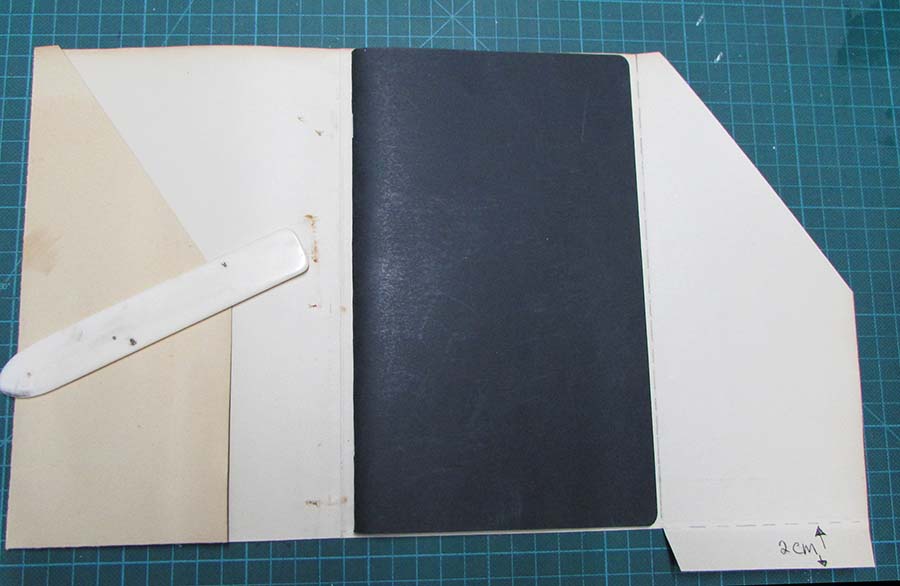
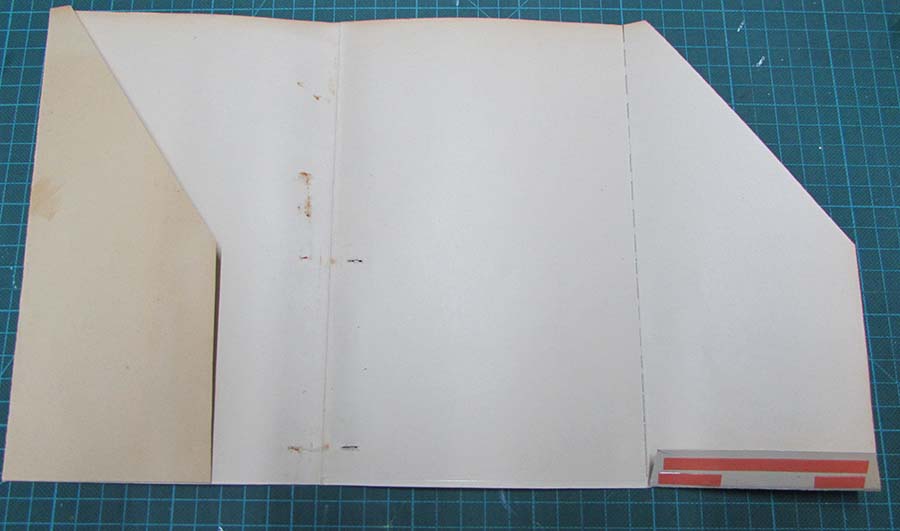
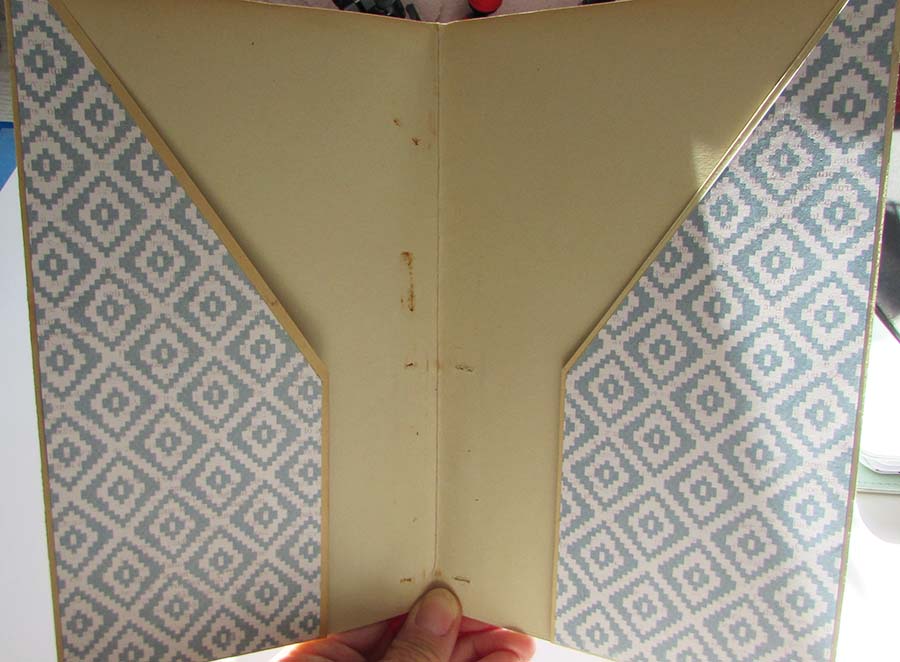
Next mark off where you need to cut and fold. Measure the wrap around using your insert and fold the two side pockets in. When it comes to cutting off the excess at the bottom leave a flap of about two cm’s at the bottom of each pocket. Cut a diagonal piece off each pocket.

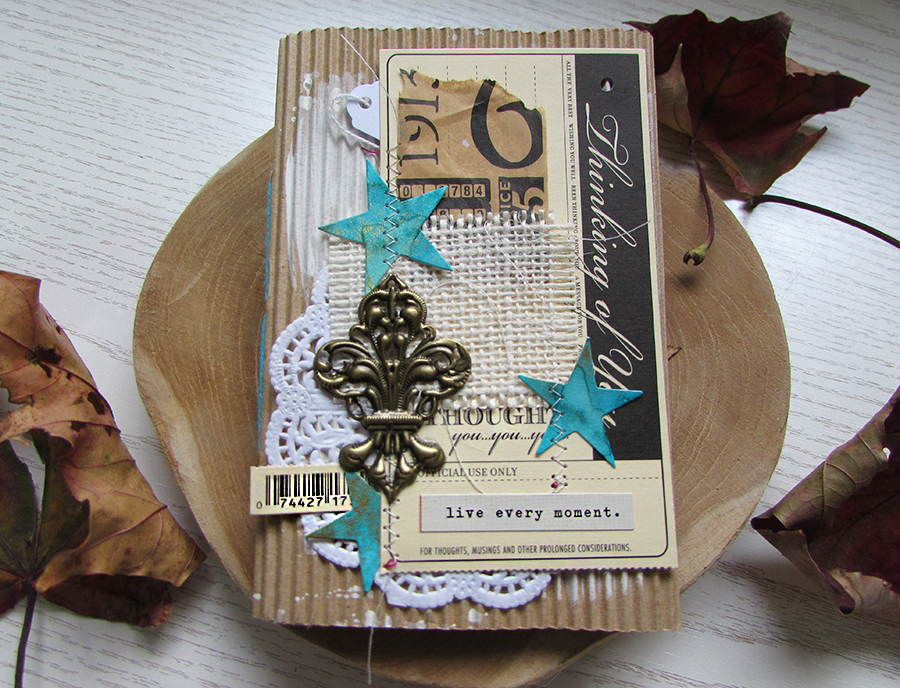
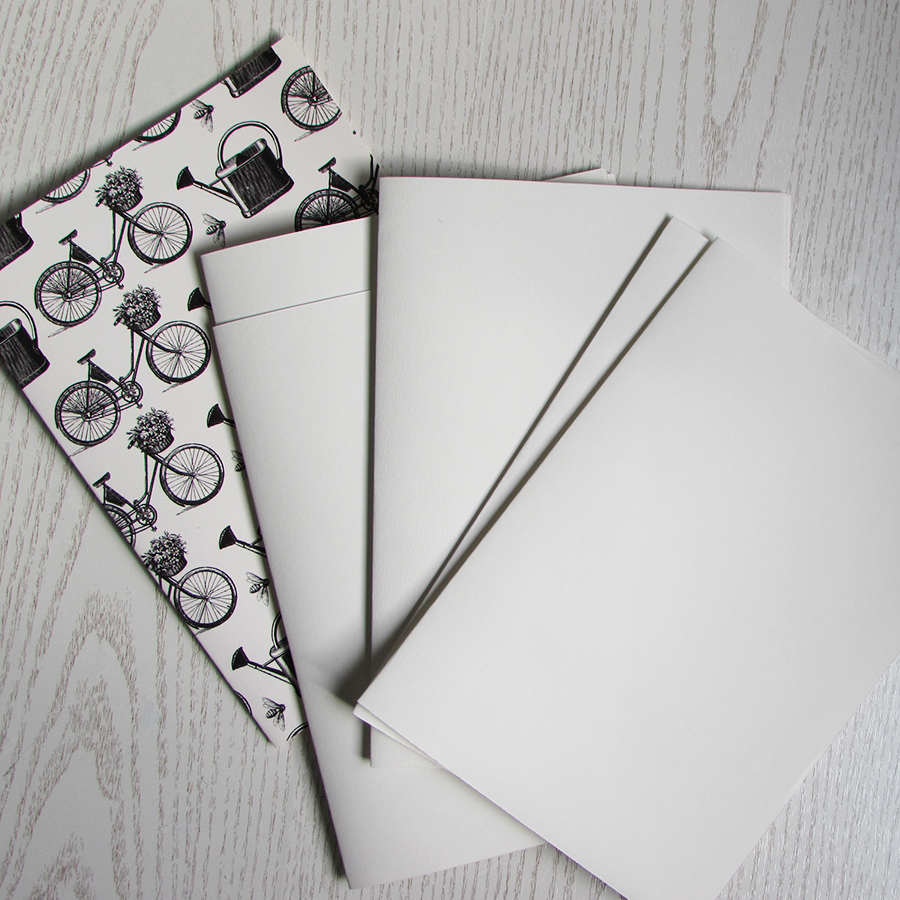
Put double sided tape or glue along the bottom flaps and fold them in and that’s all there is to it. Now you get to do the fun bit which is the decorating.

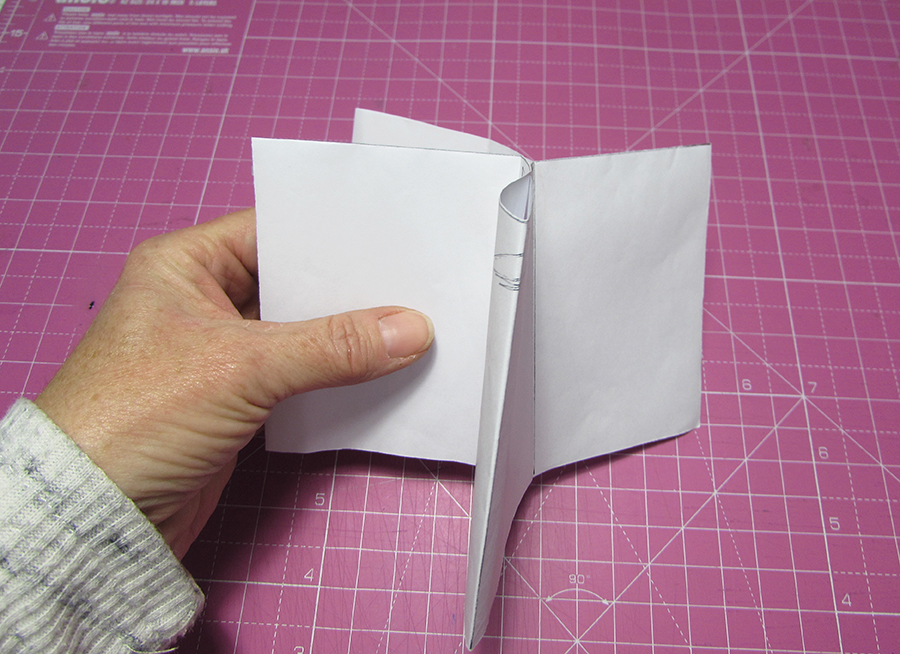
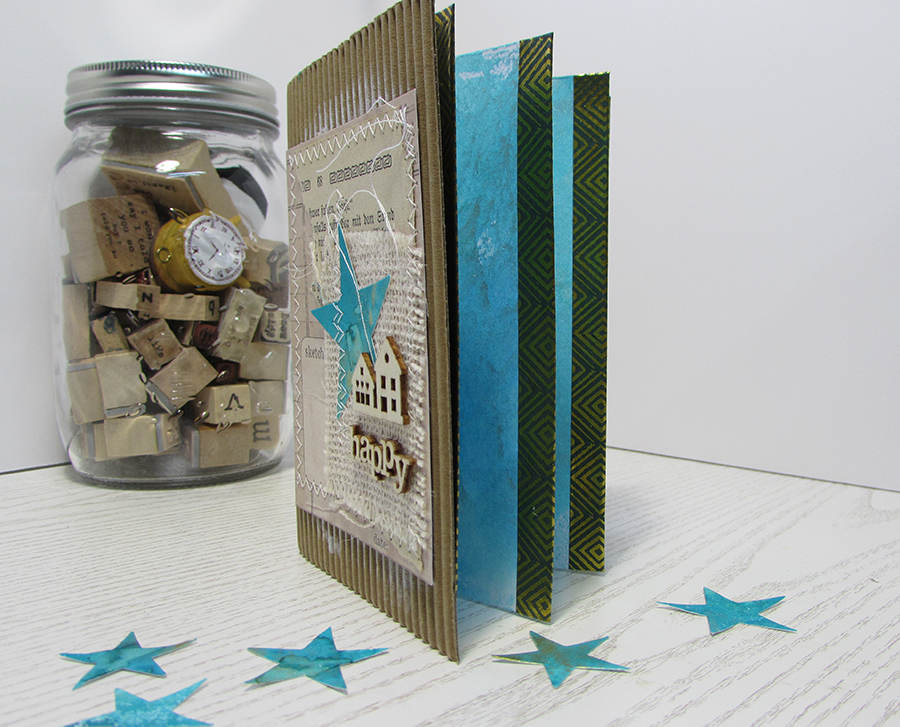
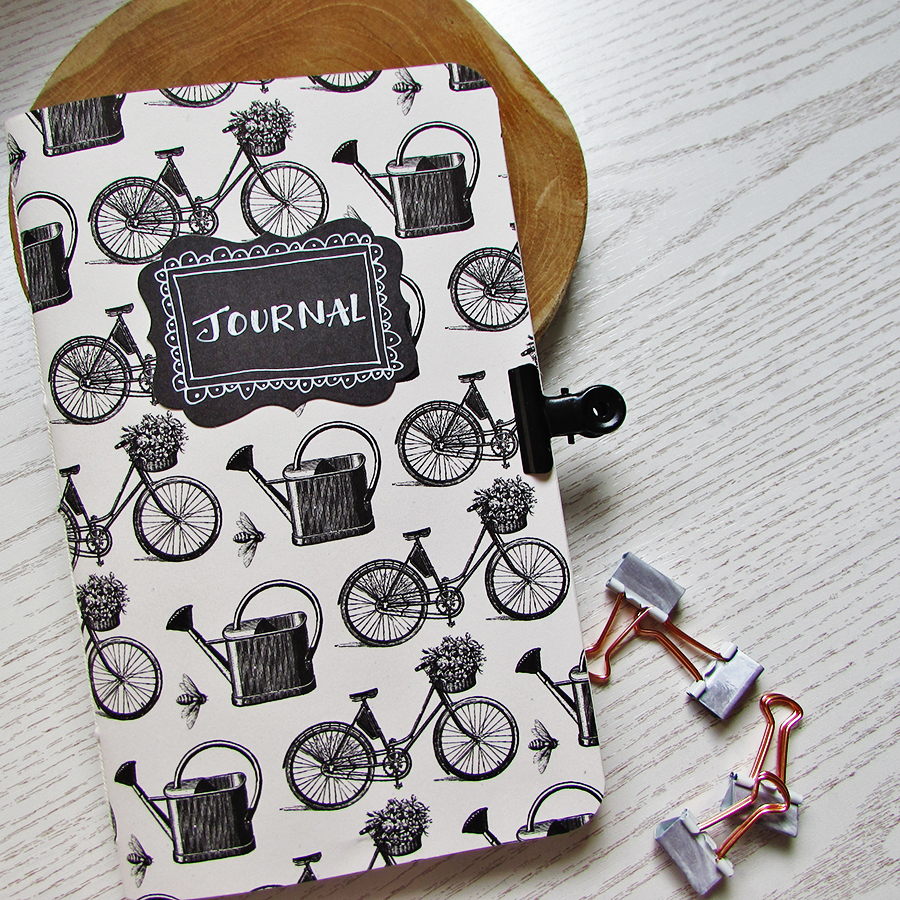
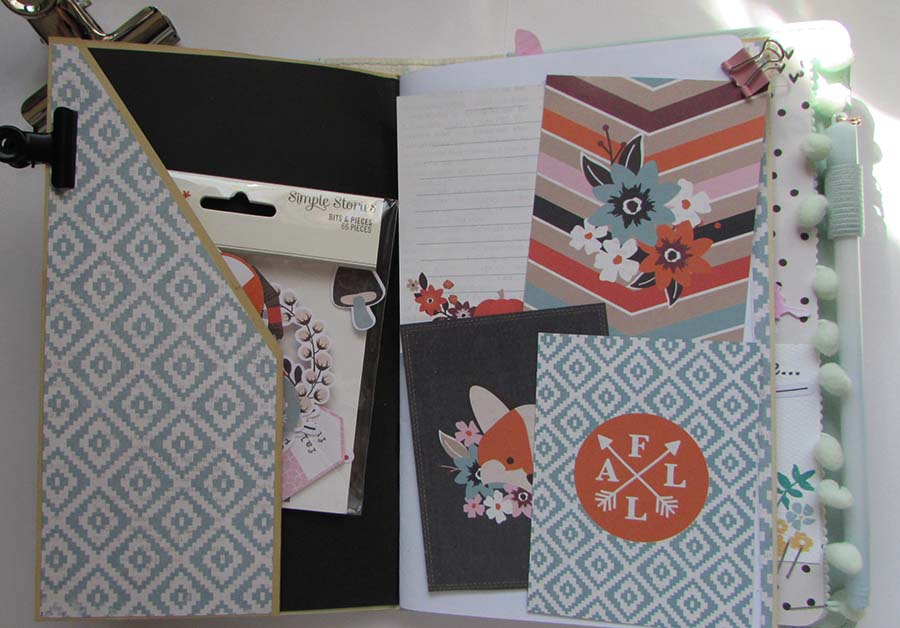
It wraps around an insert perfectly and also makes a nice cover if as I’ve done you slip the covers into the pockets.

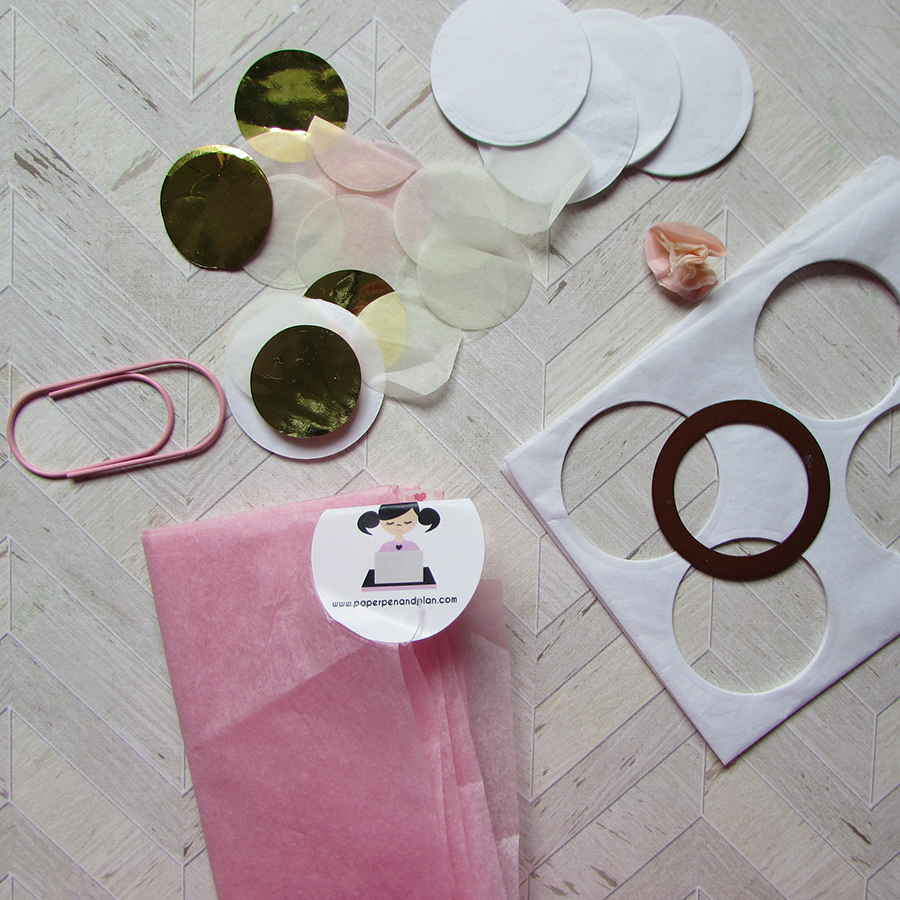
All materials come from PaperPenAnd Plan on Etsy which you can find here and if you use the code JAINE10 you can get an extra 10% off your order.

Have a good weekend and I’ll speak to you soon

Jaine xx


Friday In The Studio – Tissue Paper Flower Clip

Look at this little clip, isn’t it cute? Even if I do say so myself I think I had a flash of  real inspiration here.

The clip came as part of the June Sweet Treat box from Paper Pen and Plan and Clare set us a challenge to create something using it so that’s just what we did.  The idea hit me when I saw the jumbo sized tissue paper circle confetti which Clare has started putting in the boxes as part of the packaging. I had the thought to make tissue paper flowers and glue them all onto the clip but sadly the confetti was just a bit too small. However the box packaging was full of lovely tissue paper which I could cut circles from as much as I wanted.

The process couldn’t be simpler. You just need a hole making tool, a brad to hold the layers of tissue together, a circle of card a bit smaller than the tissue and a little felt bobbly ball for the centre which conveniently came in the Sweet Treat box too.

With about 8 or 9 layers of tissue, I made a hole and pushed the brad through to just hold them together while I snipped all the way around not quite into the centre.

Taking each layer individually I scrunched them up into the centre to create the ruffled effect. I glued the card circle onto the back along with the top of the clip and a second card circle.

I ended up making two and thought it would look much better if I glued them back to back to make a pompom flower.

Much better. If you want to see what the other designers did with their clips you can go to the Paperpenandplan facebook group

To buy a Sweet Treat Box of your own or a subscription go to Paper Pen and Plan.

Stay around as later on there’s a very special post coming up.

Jaine x

More Than A Card Not Quite A Whole Book

You know that thing when making a card seems a little bit mean to be saying “thank you for inviting us to stay for the weekend” or “we had a great time at your party” and it’s a bit late to be making a whole mini album which you know they’d love but you just don’t have the time? Well I think this might just hit the brief in terms of more than a card but not quite a whole album.

It’s my old favourite the one page mini book, the one where I start off with one big sheet of paper, in this case it was an A3, and coloured the background with a marbled effect using spray and folded it up into my mini album.

Here are a few photos which hopefully show the folding technique.

The resulting book has 8 A6 sized pages so enough for a few photos and some writing.

I wrote a little tutorial for the marbled background which you can see on the web site of Canvas Corp Brands here by clicking this link.

As you can see I created enough coloured paper to use for die cutting the stars.

I hope you try it for yourself. If you do I’d love to hear.

Jaine xx

Messy Monday is back

Well, almost back anyway. Clare and I had a bit of a session making Travelers Notebook inserts but sadly Clare had a paper cutter crisis and ended up binning it for something else. She promises to get back to it next week so I’ll hold her to that.

I turned it into a tutorial for Clare to follow next week and anyone else who wants to know how to hand sew a binding.  This is the finished booklet. I think uit looks quite smart. I used a piece of Canvas Corp paper called Bikes And Baskets for my cover.

To make my notebook you’ll need a piece of scrapbook paper for the cover and I used 14 sheets of A4 watercolour paper at 125gsm.  I find this perfectly adequate for what I want to do with my journal, any thicker and it’s hard to fold. You’ll also need a knife and ruler, pencil, cotton thread and a needle.

Fold all of your papers in half and place them all inside one another.

It’s easier if you make a stitching template before you make your holes, you can use this again and again. I used a 7 hole stitching method (you always want to have an odd number of stitching holes). Find the middle of the page then make three marks either side of the centre hole at 3cm, 6cm and 9cm.

This is my stitching chart if you can follow it. So basically starting with the centre hole stitch from inside to out leaving a small tail of thread on the inside. then it’s back up through hole number 2 and out through 3 etc until you’re back in at number 6 where you jump over the middle hole and go out through 7. Continue going in and out until you’re back in the centre hole again.

If that’s a bit confusing here are the picture steps.

When you’ve finished sewing, trim the sides and round the corners and you’re done.

I’ll be back again on Friday from the Studio.

Have a good week

Jaine xx