March has been a funny month so far. The beginning of the month was super cold, then the sun came out and we had a brief taste of Spring and then the snow and cold temperatures returned just to keep us on our toes and after another hint of sunshine the rain has returned to make us feel miserable again.
Meanwile in the studio there have been lots of projects on the go.
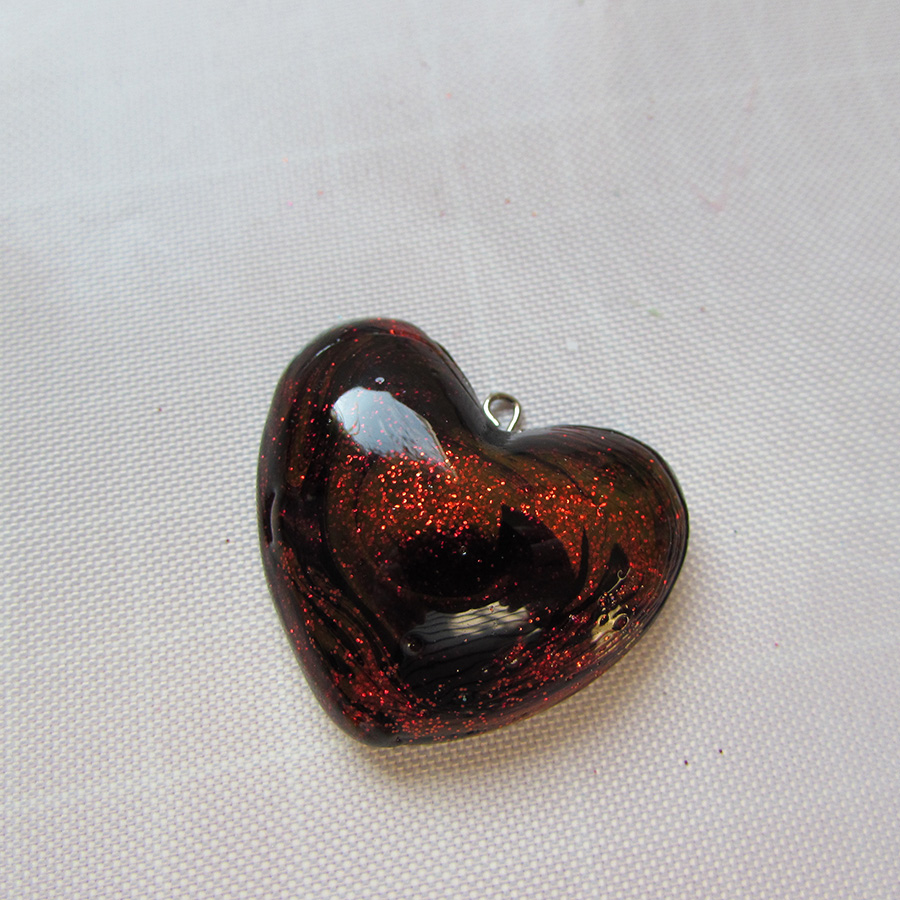
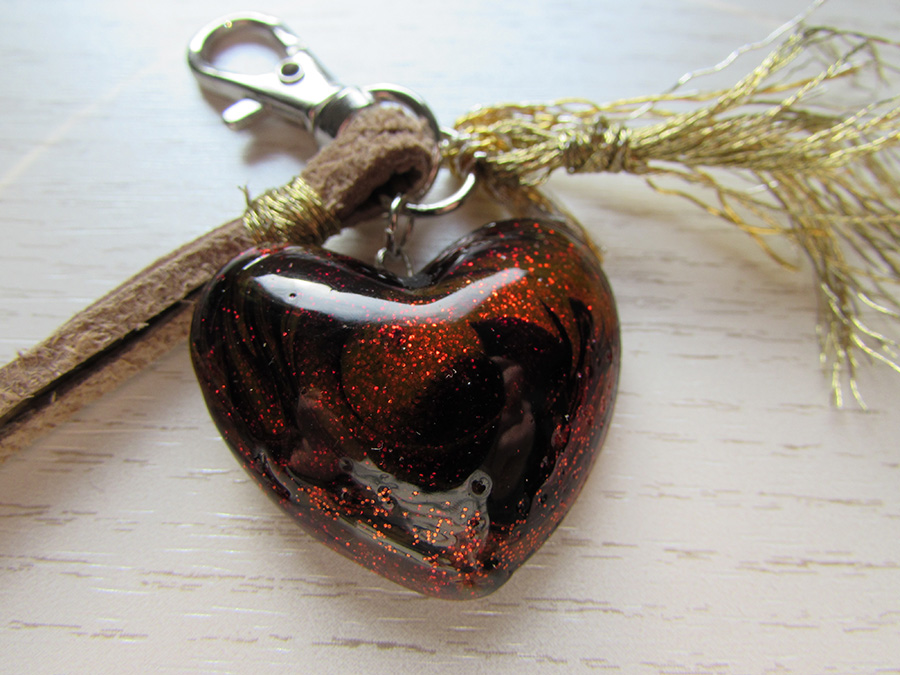
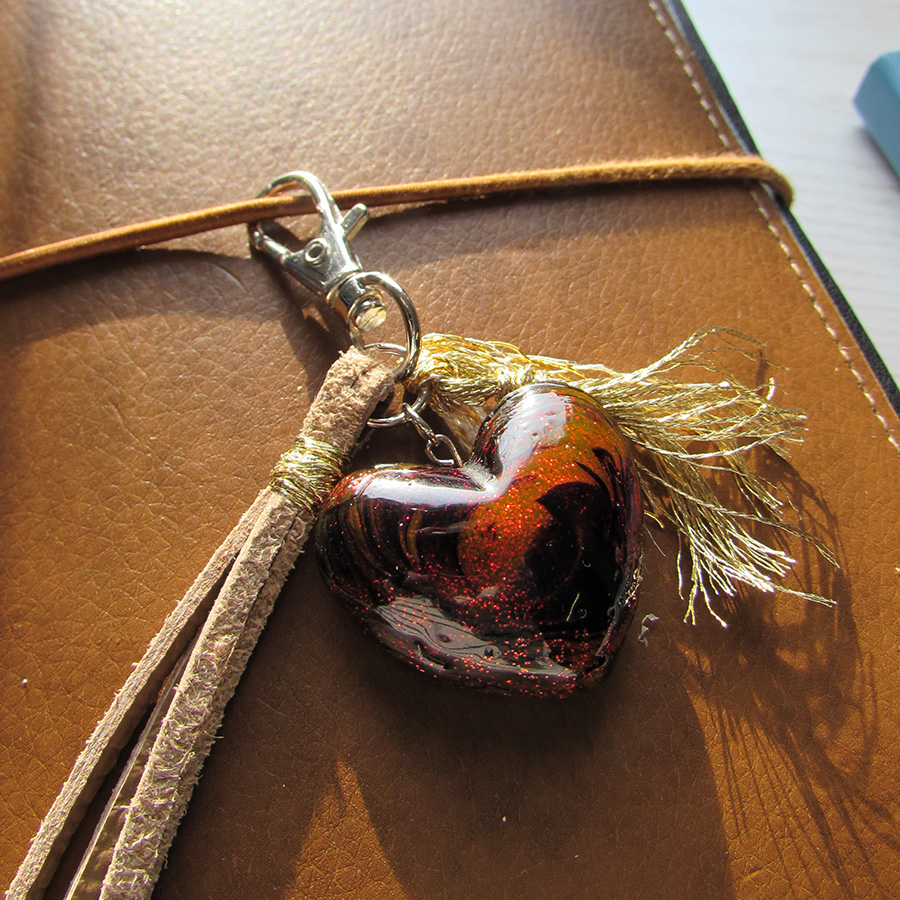
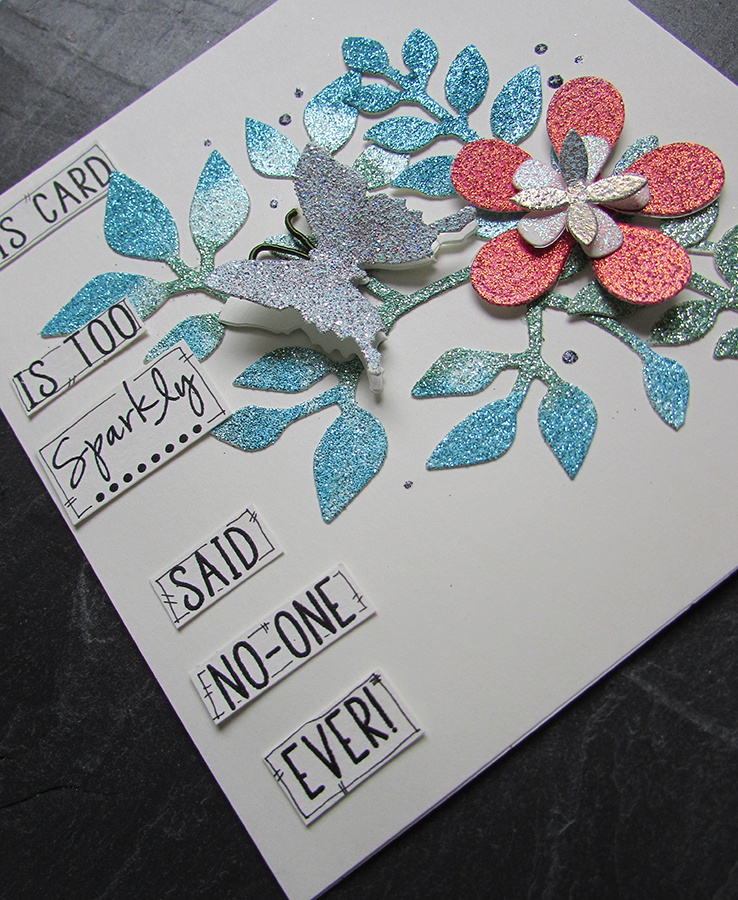
This card made using WOW embossing powders and glitter along with the fabulous quote stamp went up on the WOW blog a couple of weeks ago.
The theme for the month of March is Sparkles and the quote was the inspiration behind the card. It was a brilliant opportunity to go over the top with glitter, something which normally makes me nervous but it gave me great pleasure this time around. I only wish my photo would have captured how much the die cuts do sparkle, it’s amazing.
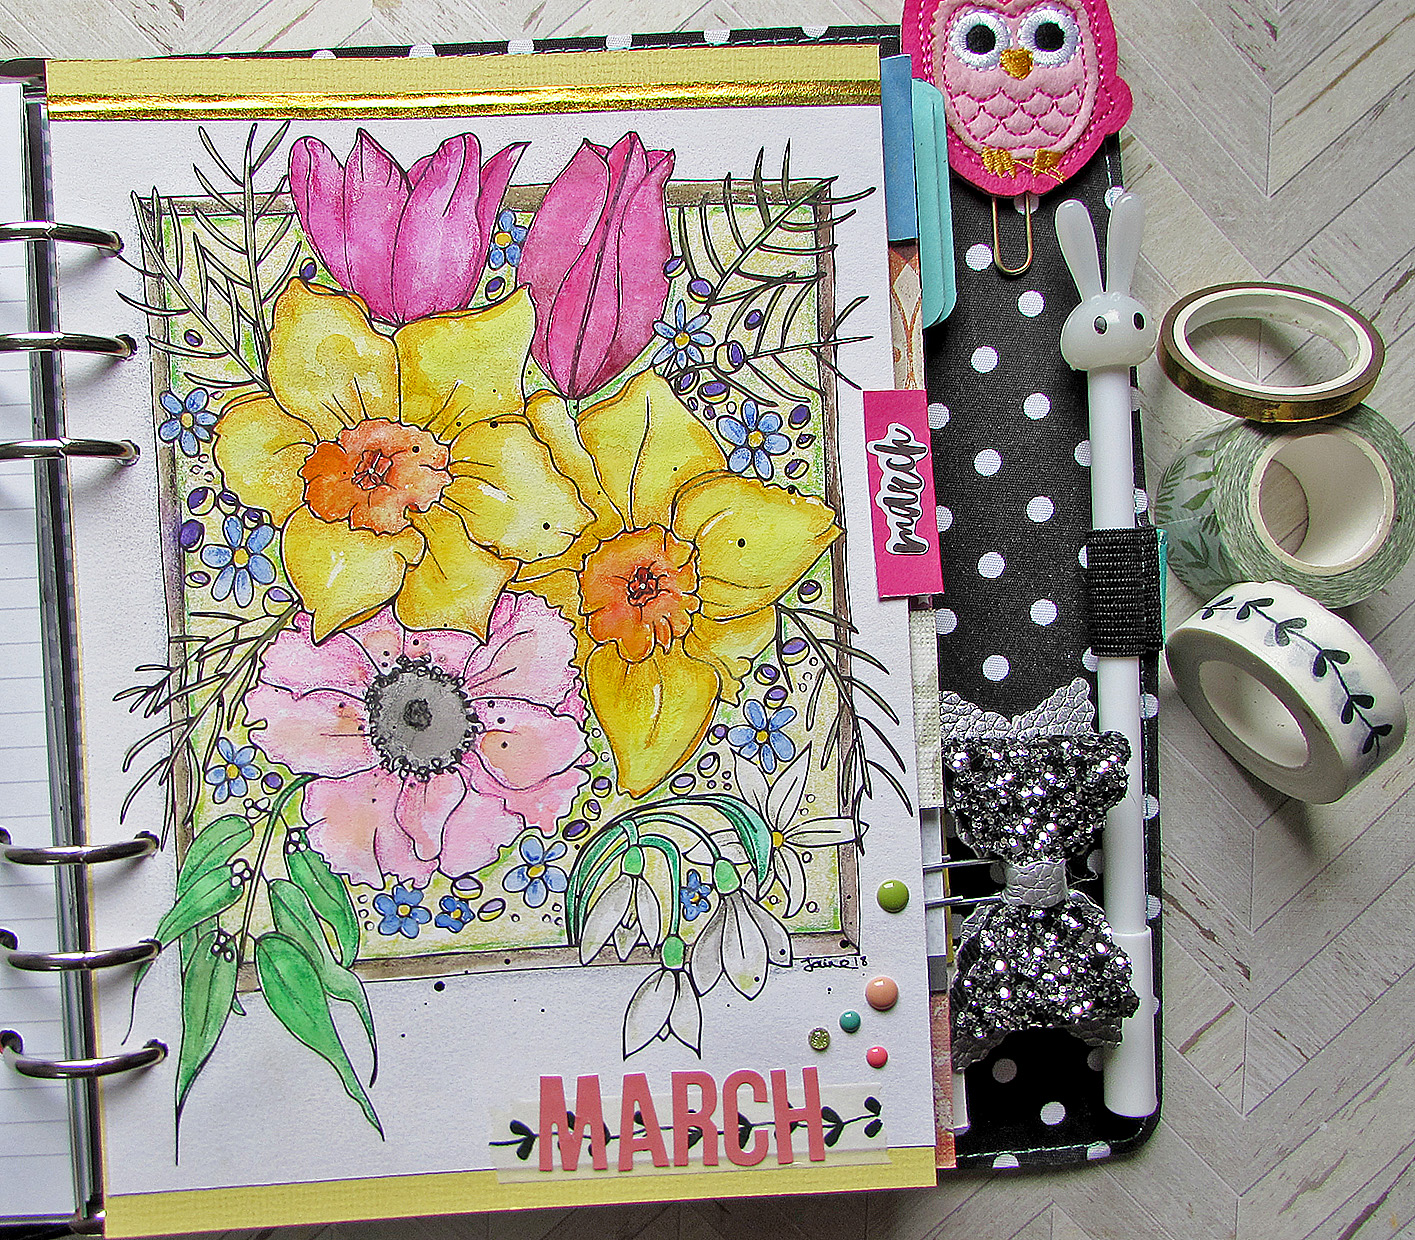
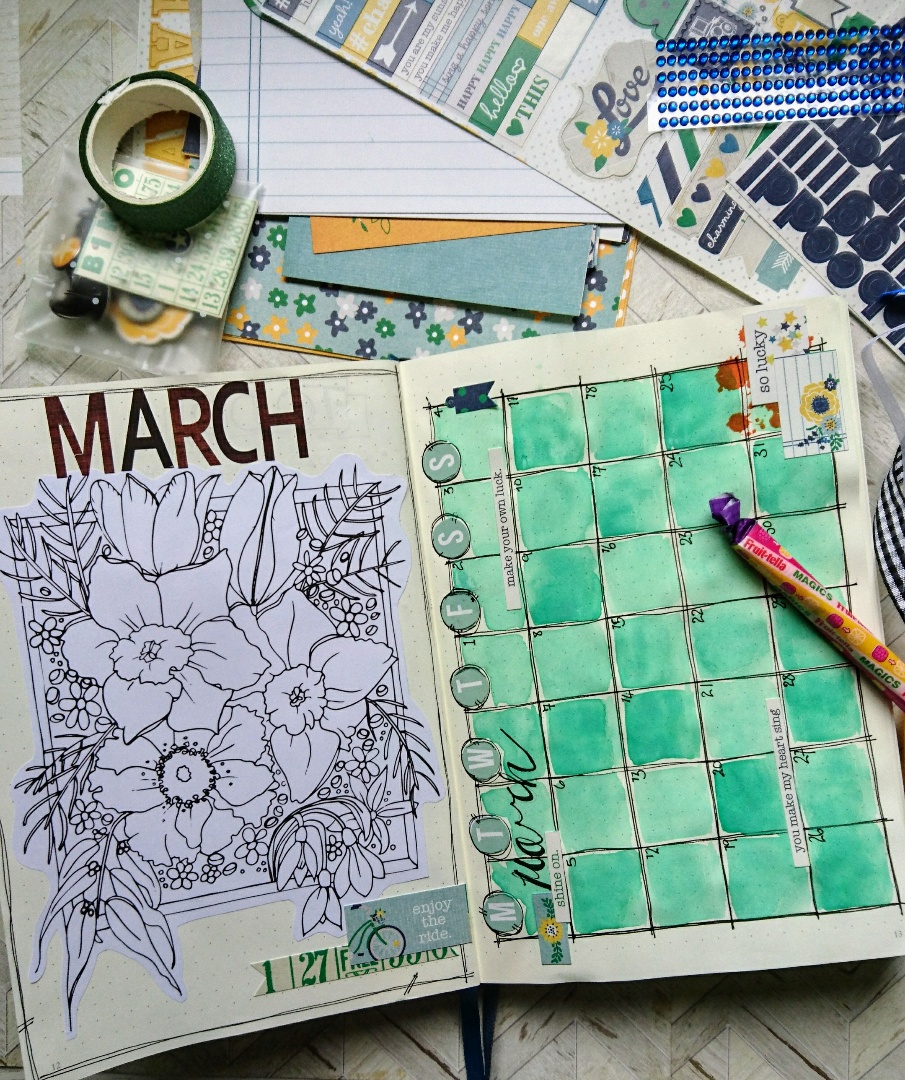
The beginning of March I did something a bit different and contributed to a new online magazine called the Creative Planner by submitting a coloring page for their self care challenge. If you’d like to download and use my colouring page or indeed read the whole magazine you’ll find it here. The Creative Planner are on Facebook and Instagram if you want to follow them too.
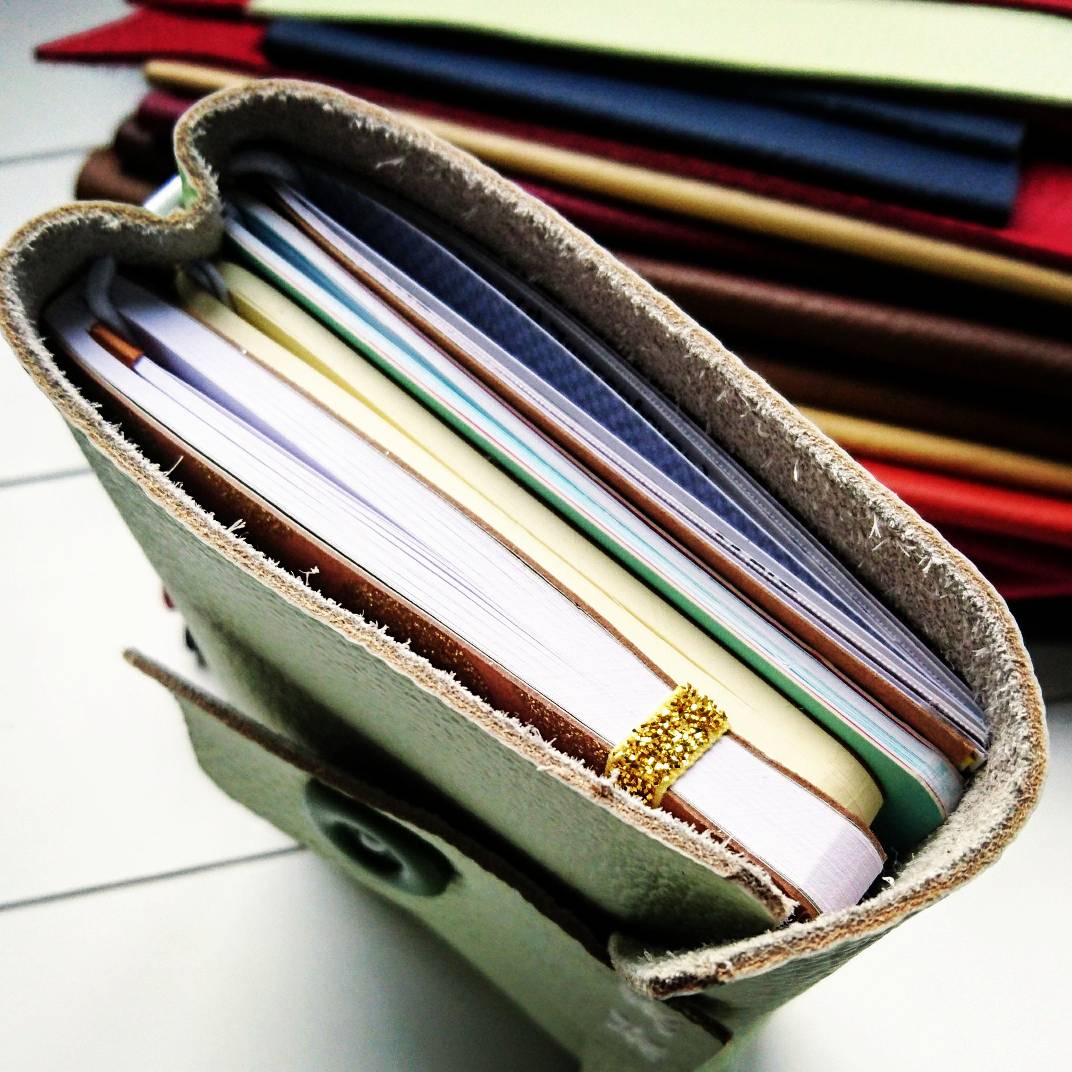
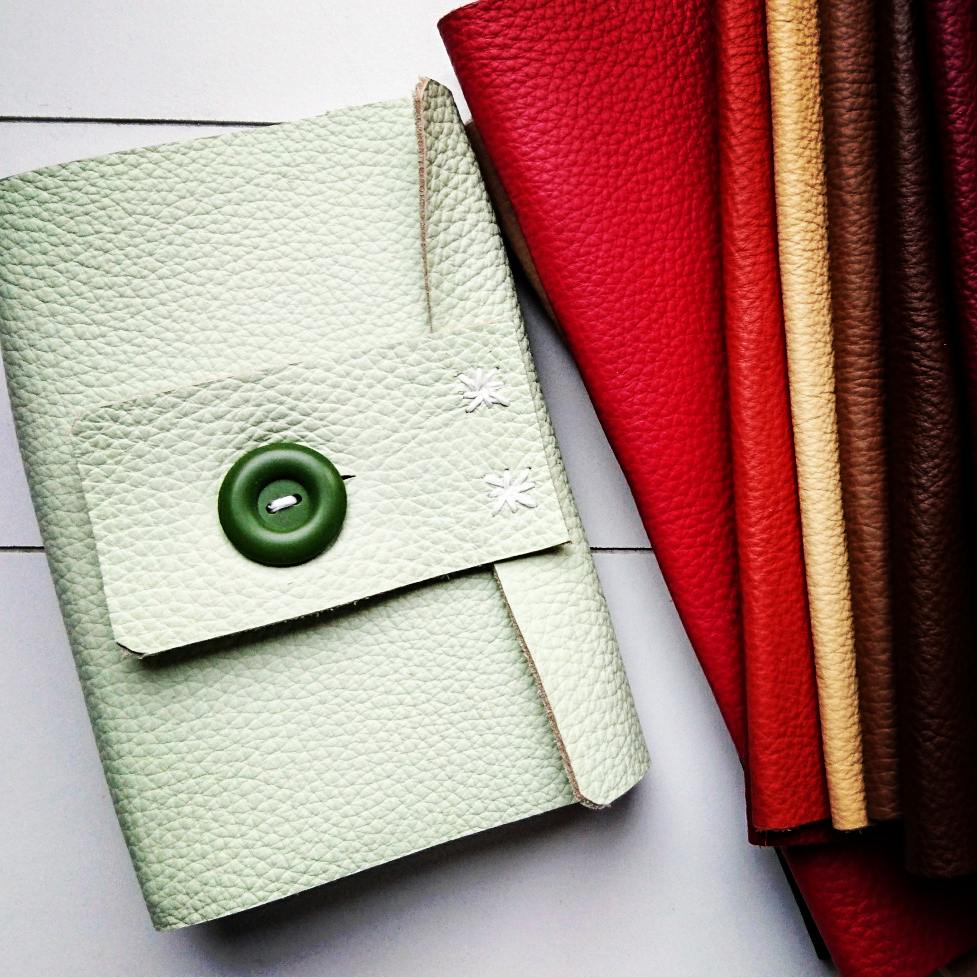
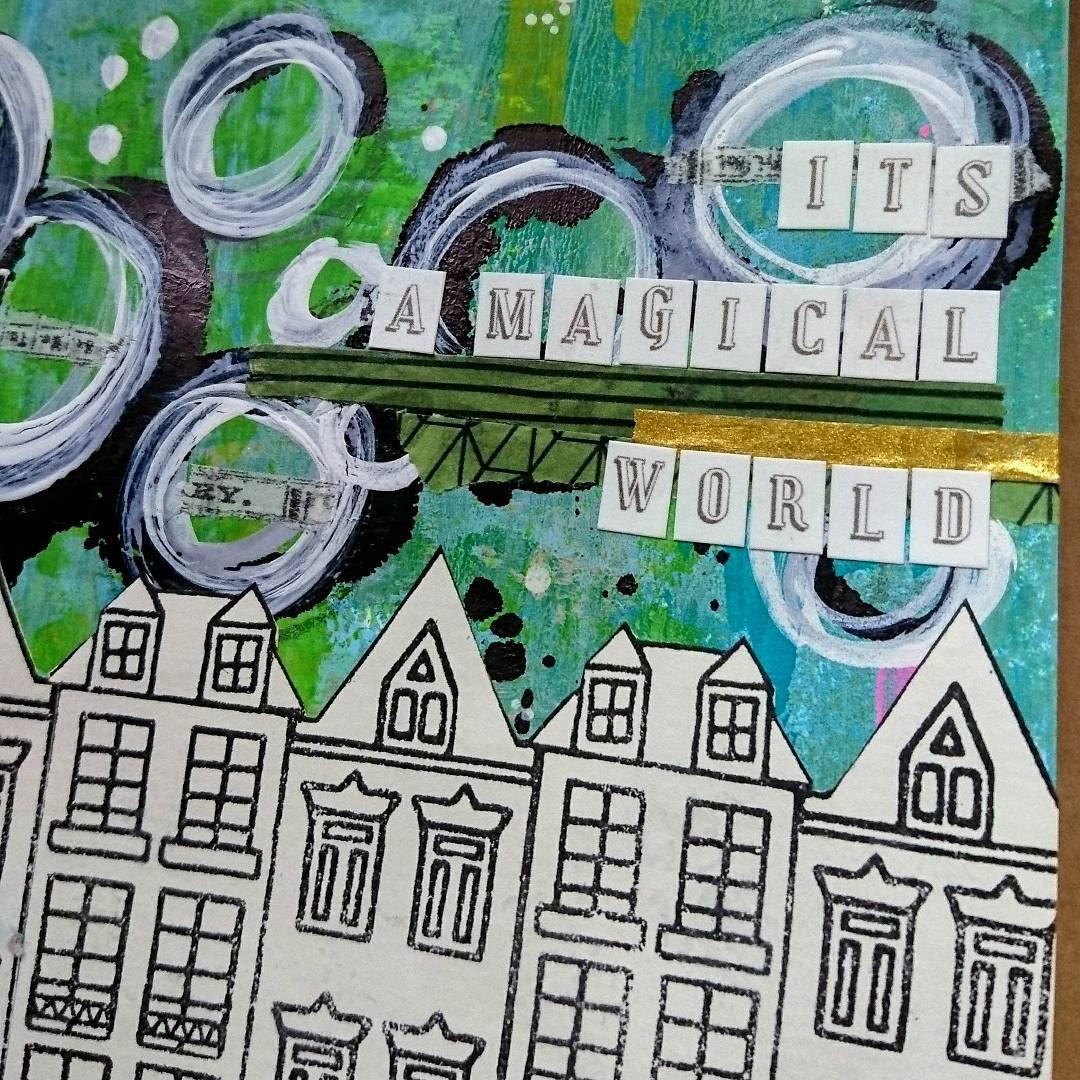
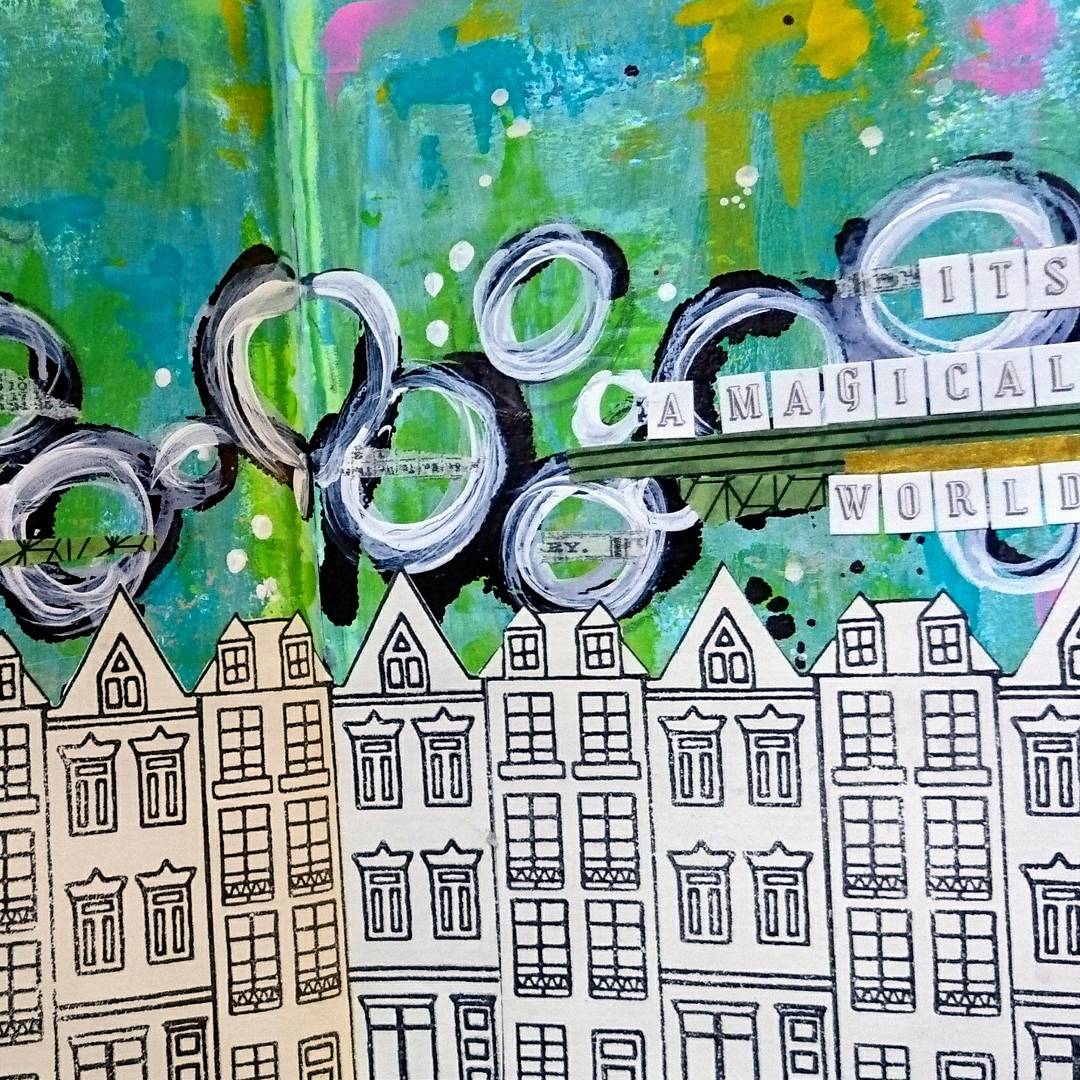
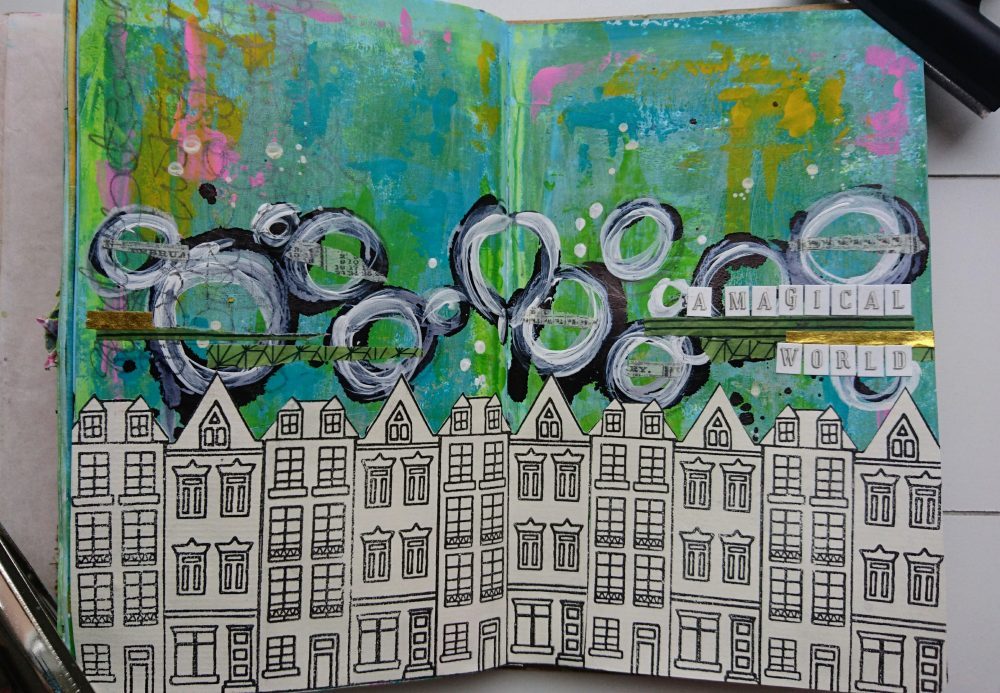
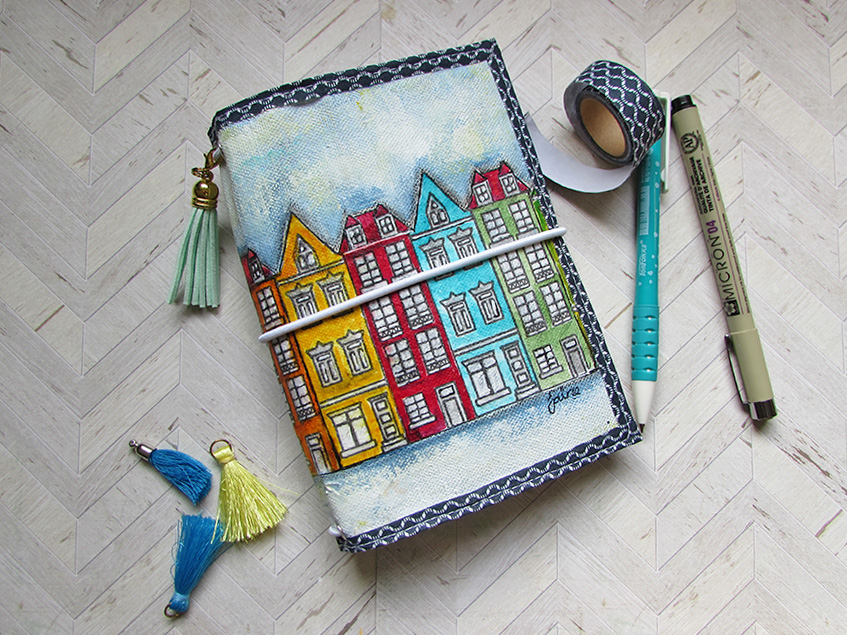
For a while now I’ve been sewing notebook covers in felt which have been very successful with orders coming in for custom sizes and applique designs on the front. I’ll continue to make these notebook covers which you can find here on my Etsy store at basementsixtyfive along with pen holders also in felt but I’ve also been making covers in canvas which brings other possibilities like being able to paint on it too. This little A6 version was made using canvas from Canvas Corp and I created a blog tutorial showing how to get the design on the canvas fabric. I have a feeling you’ll be seeing more of this and others in the future. The design is of course my stamped houses which looks just so cool here on the front.
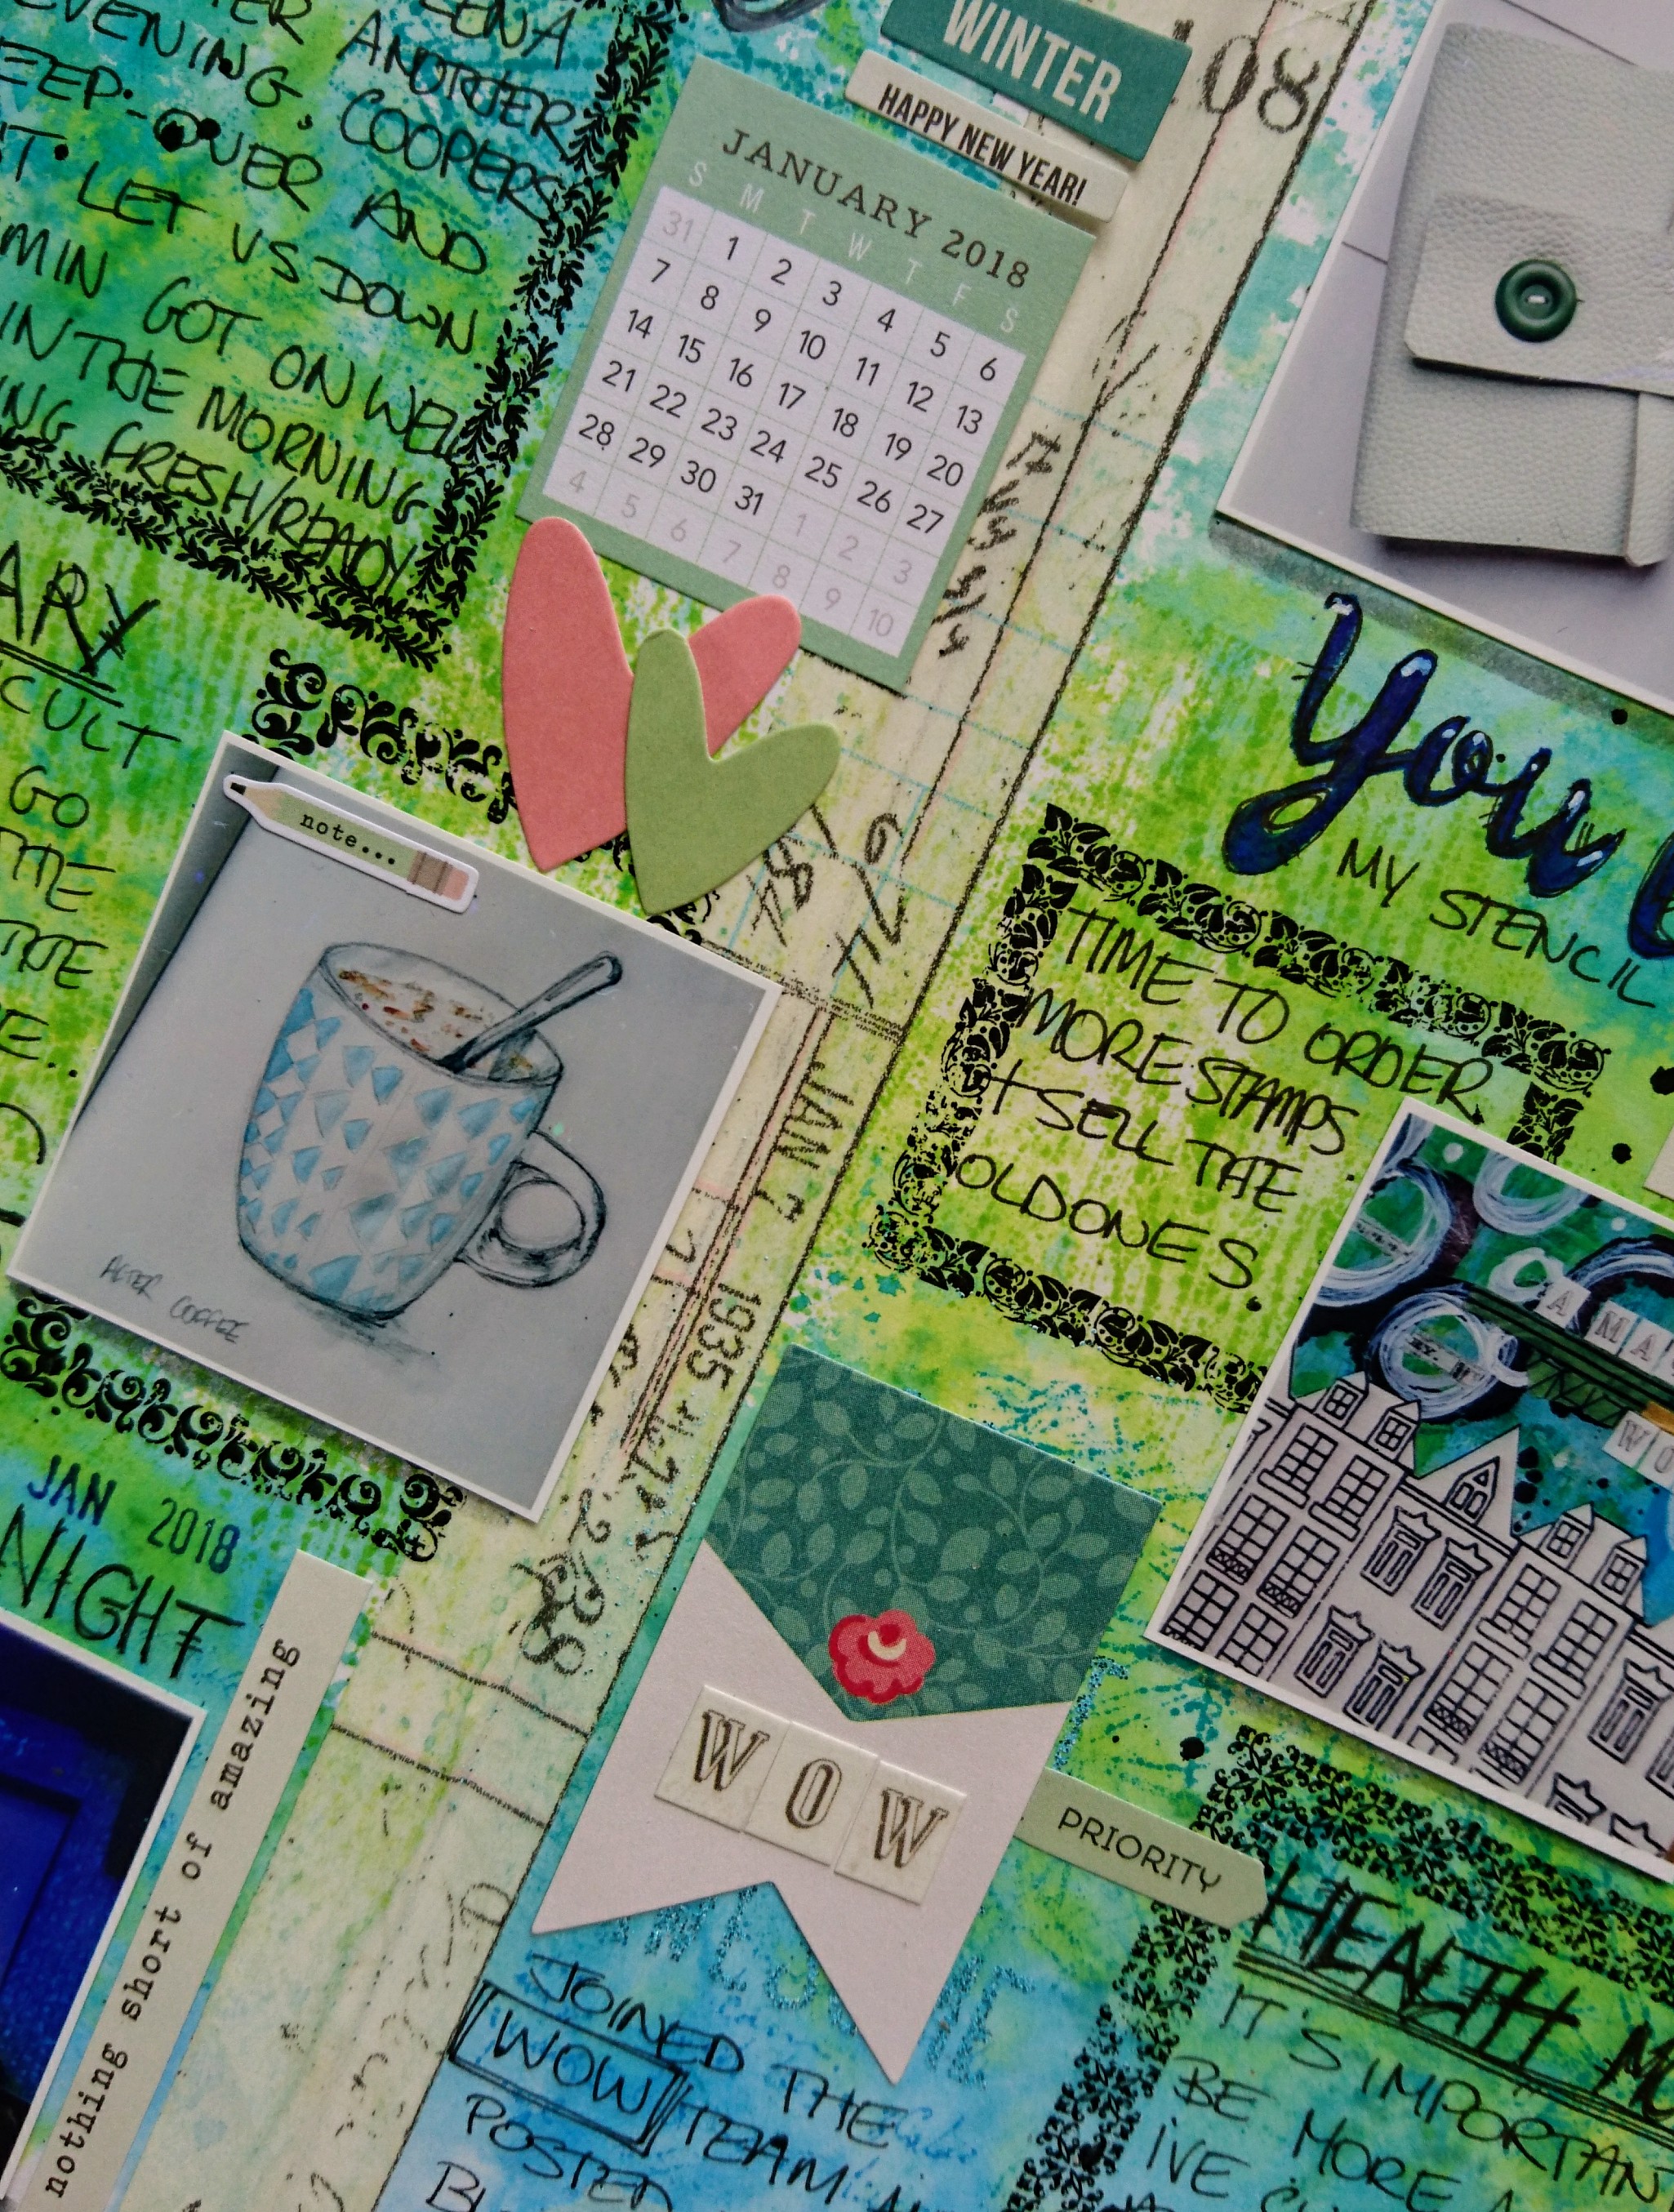
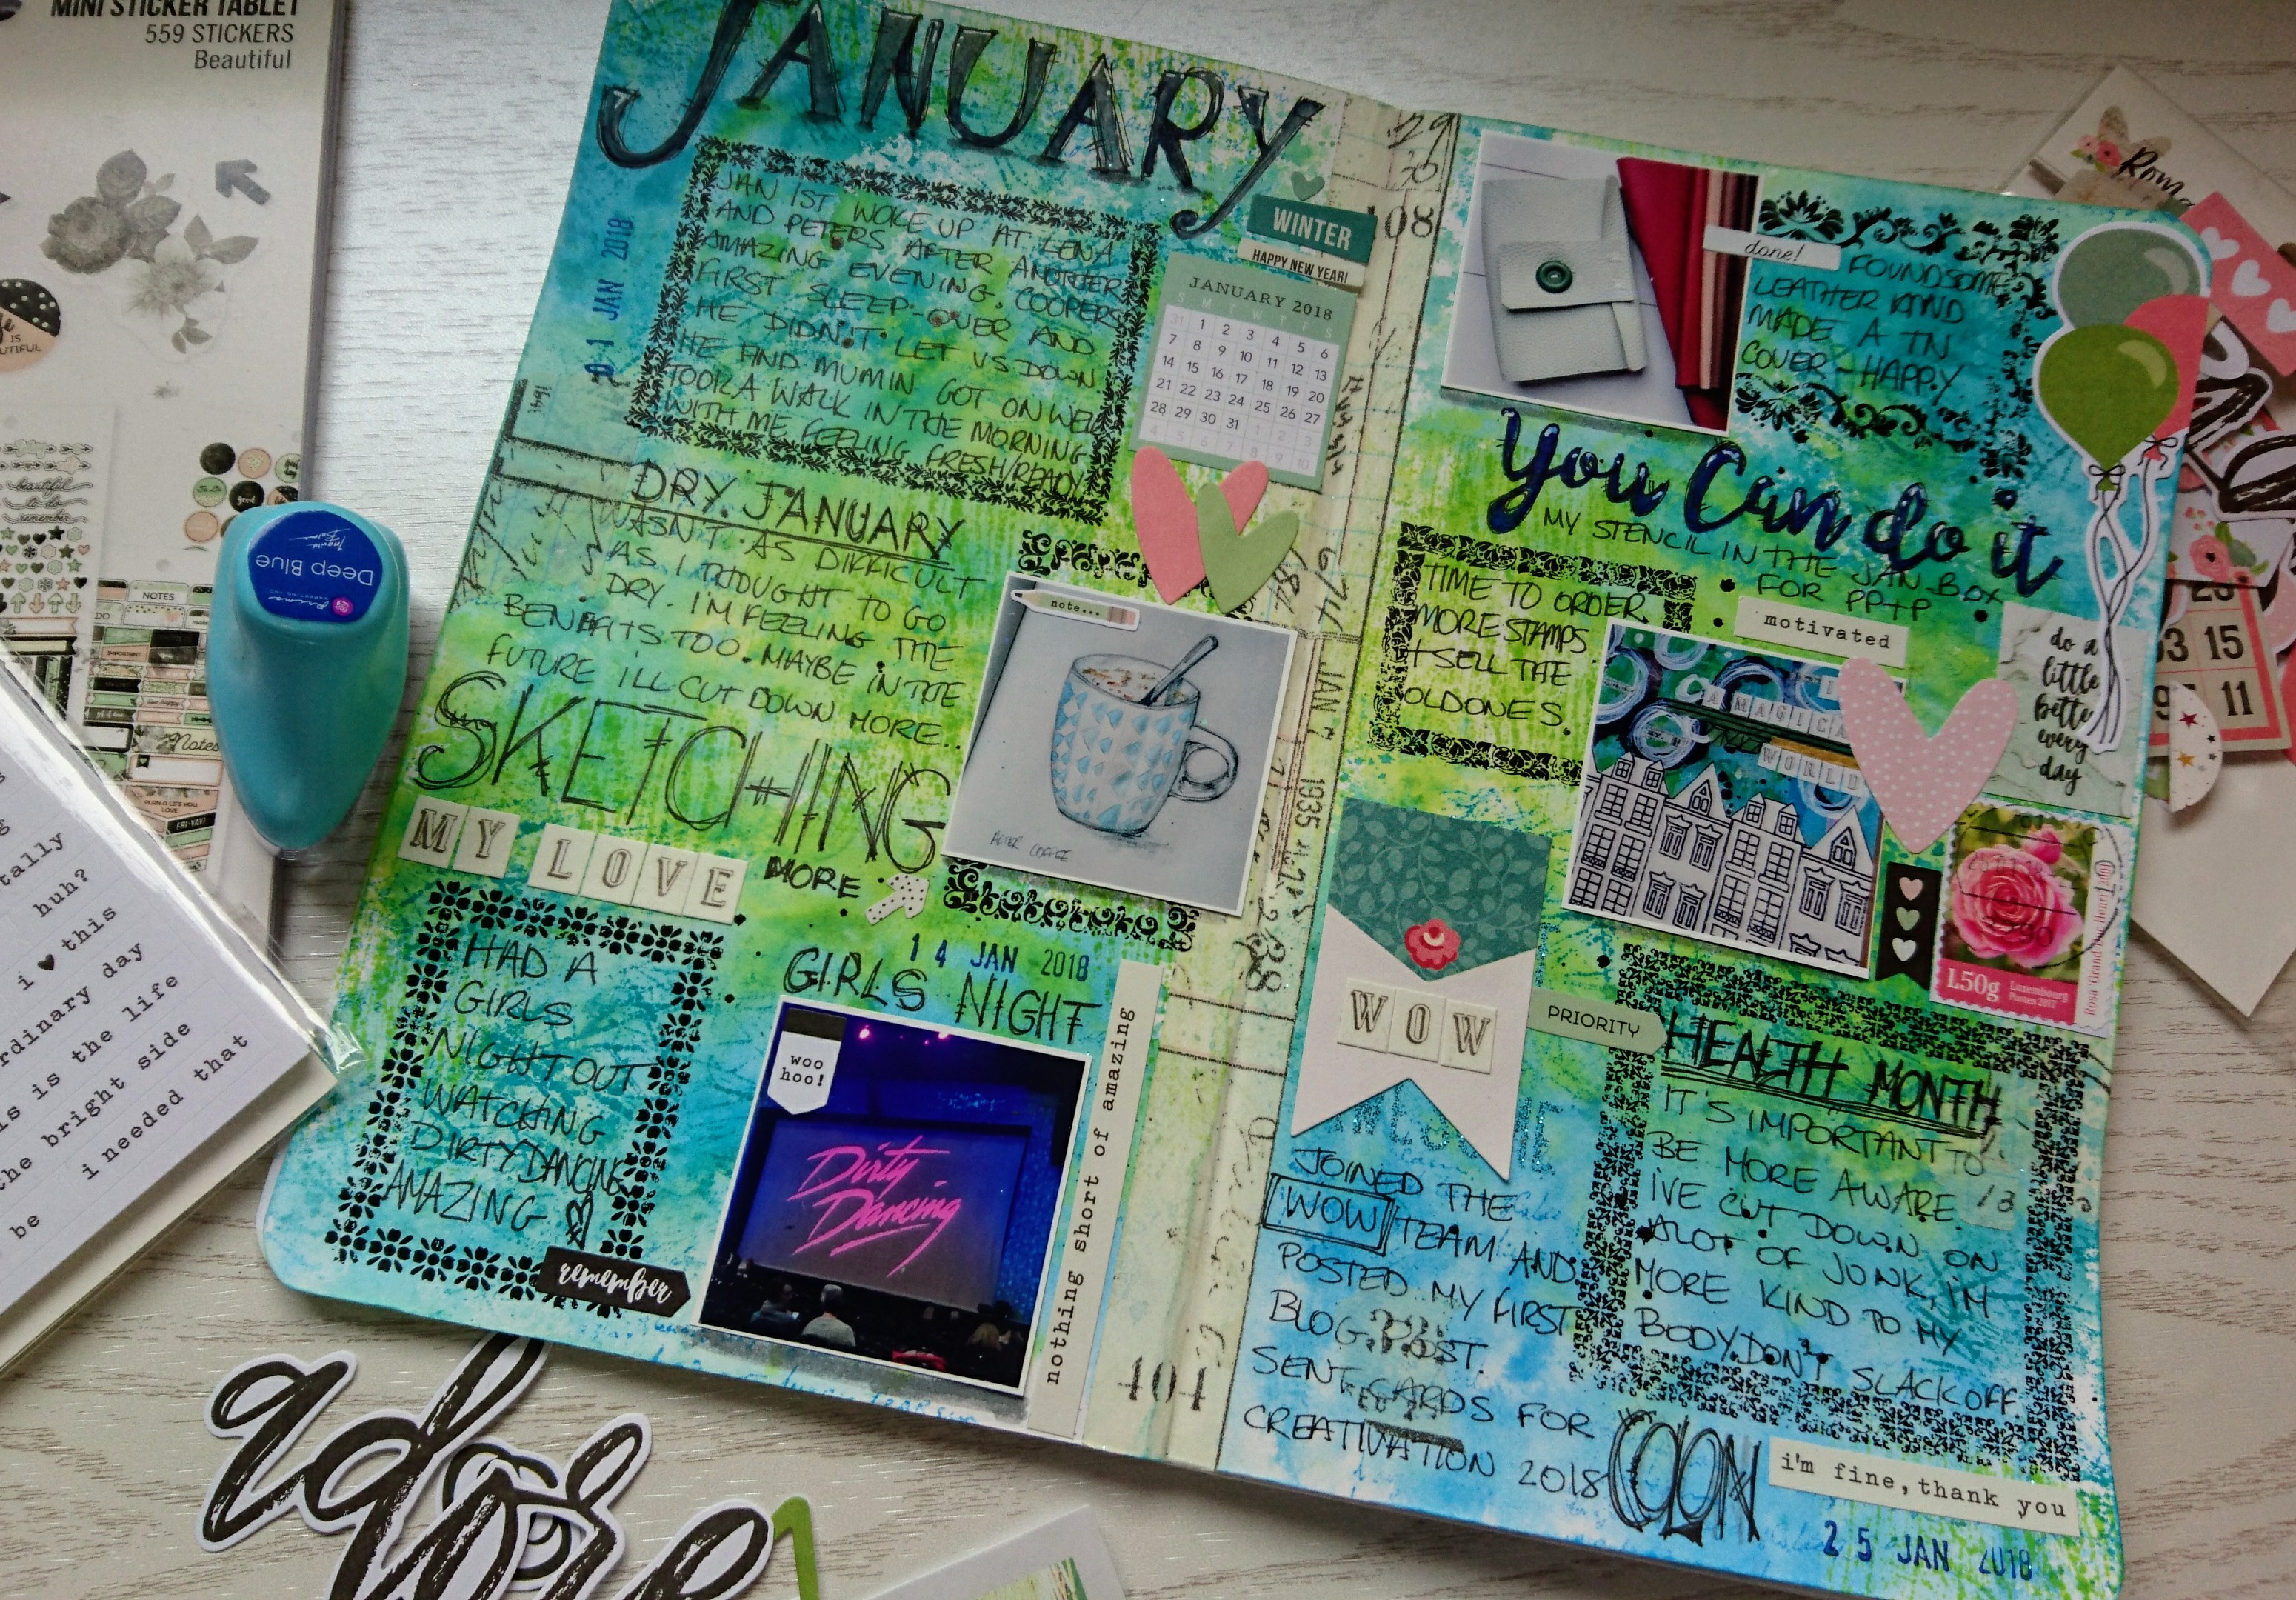
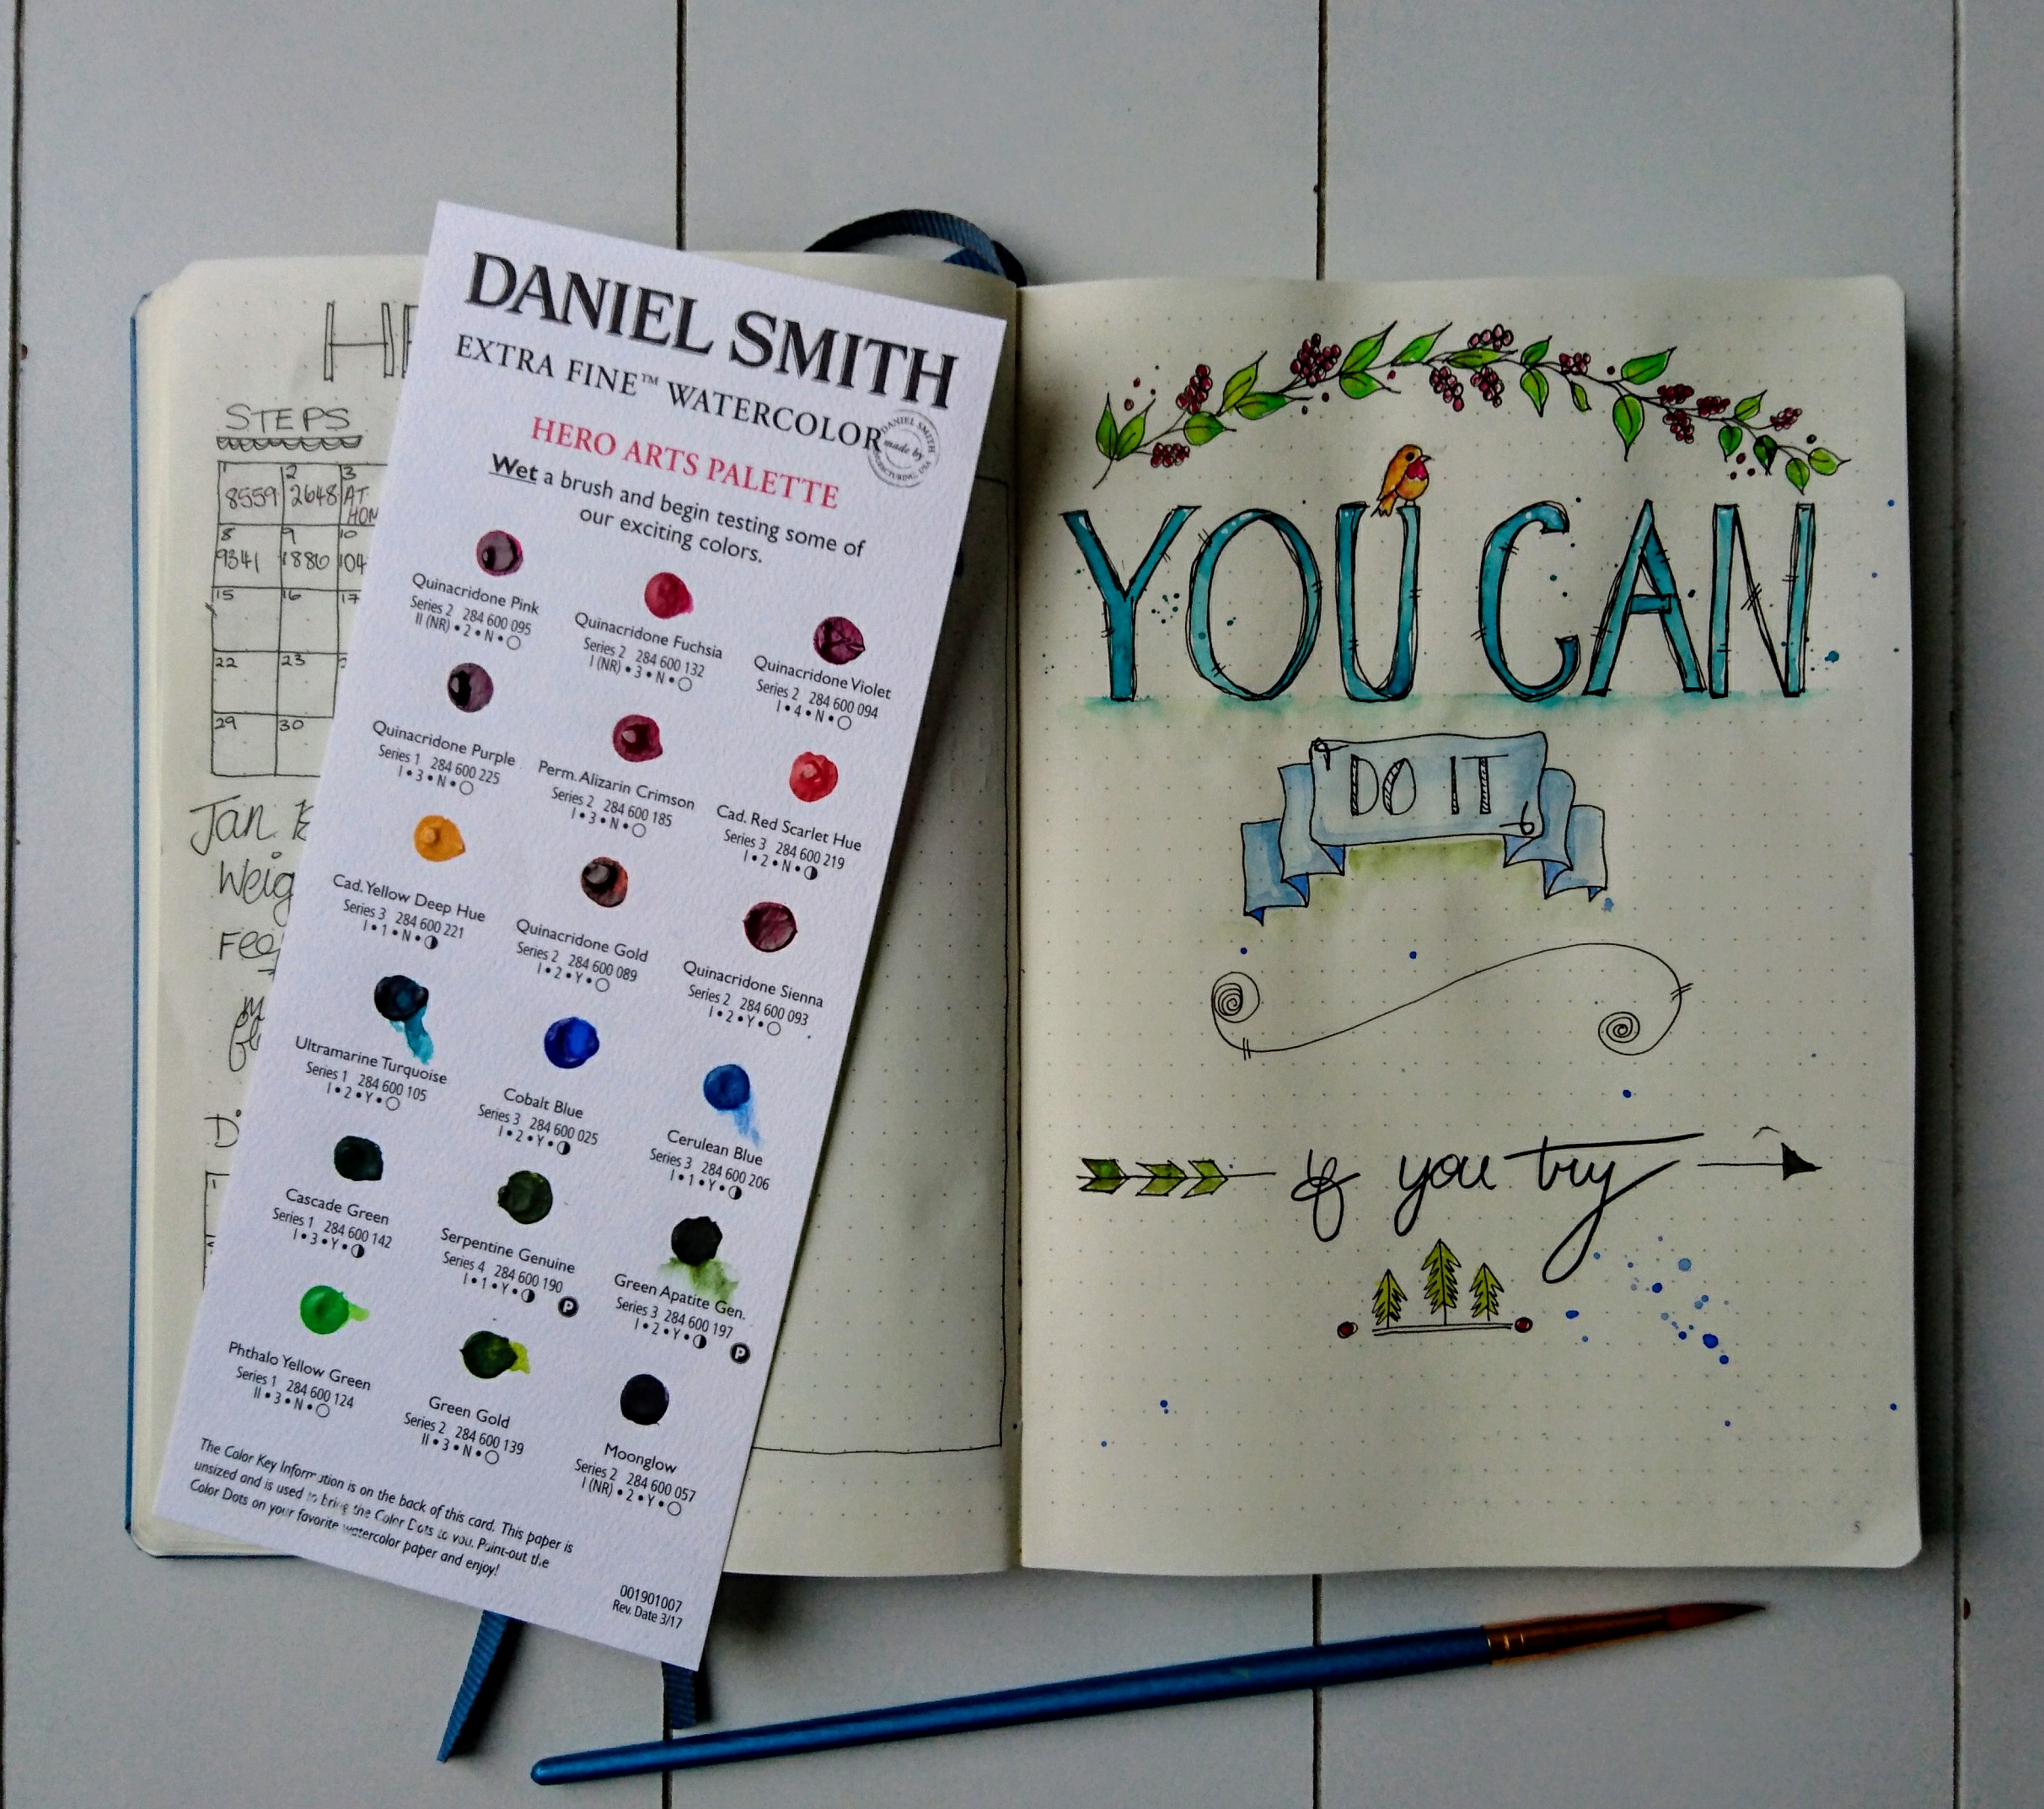
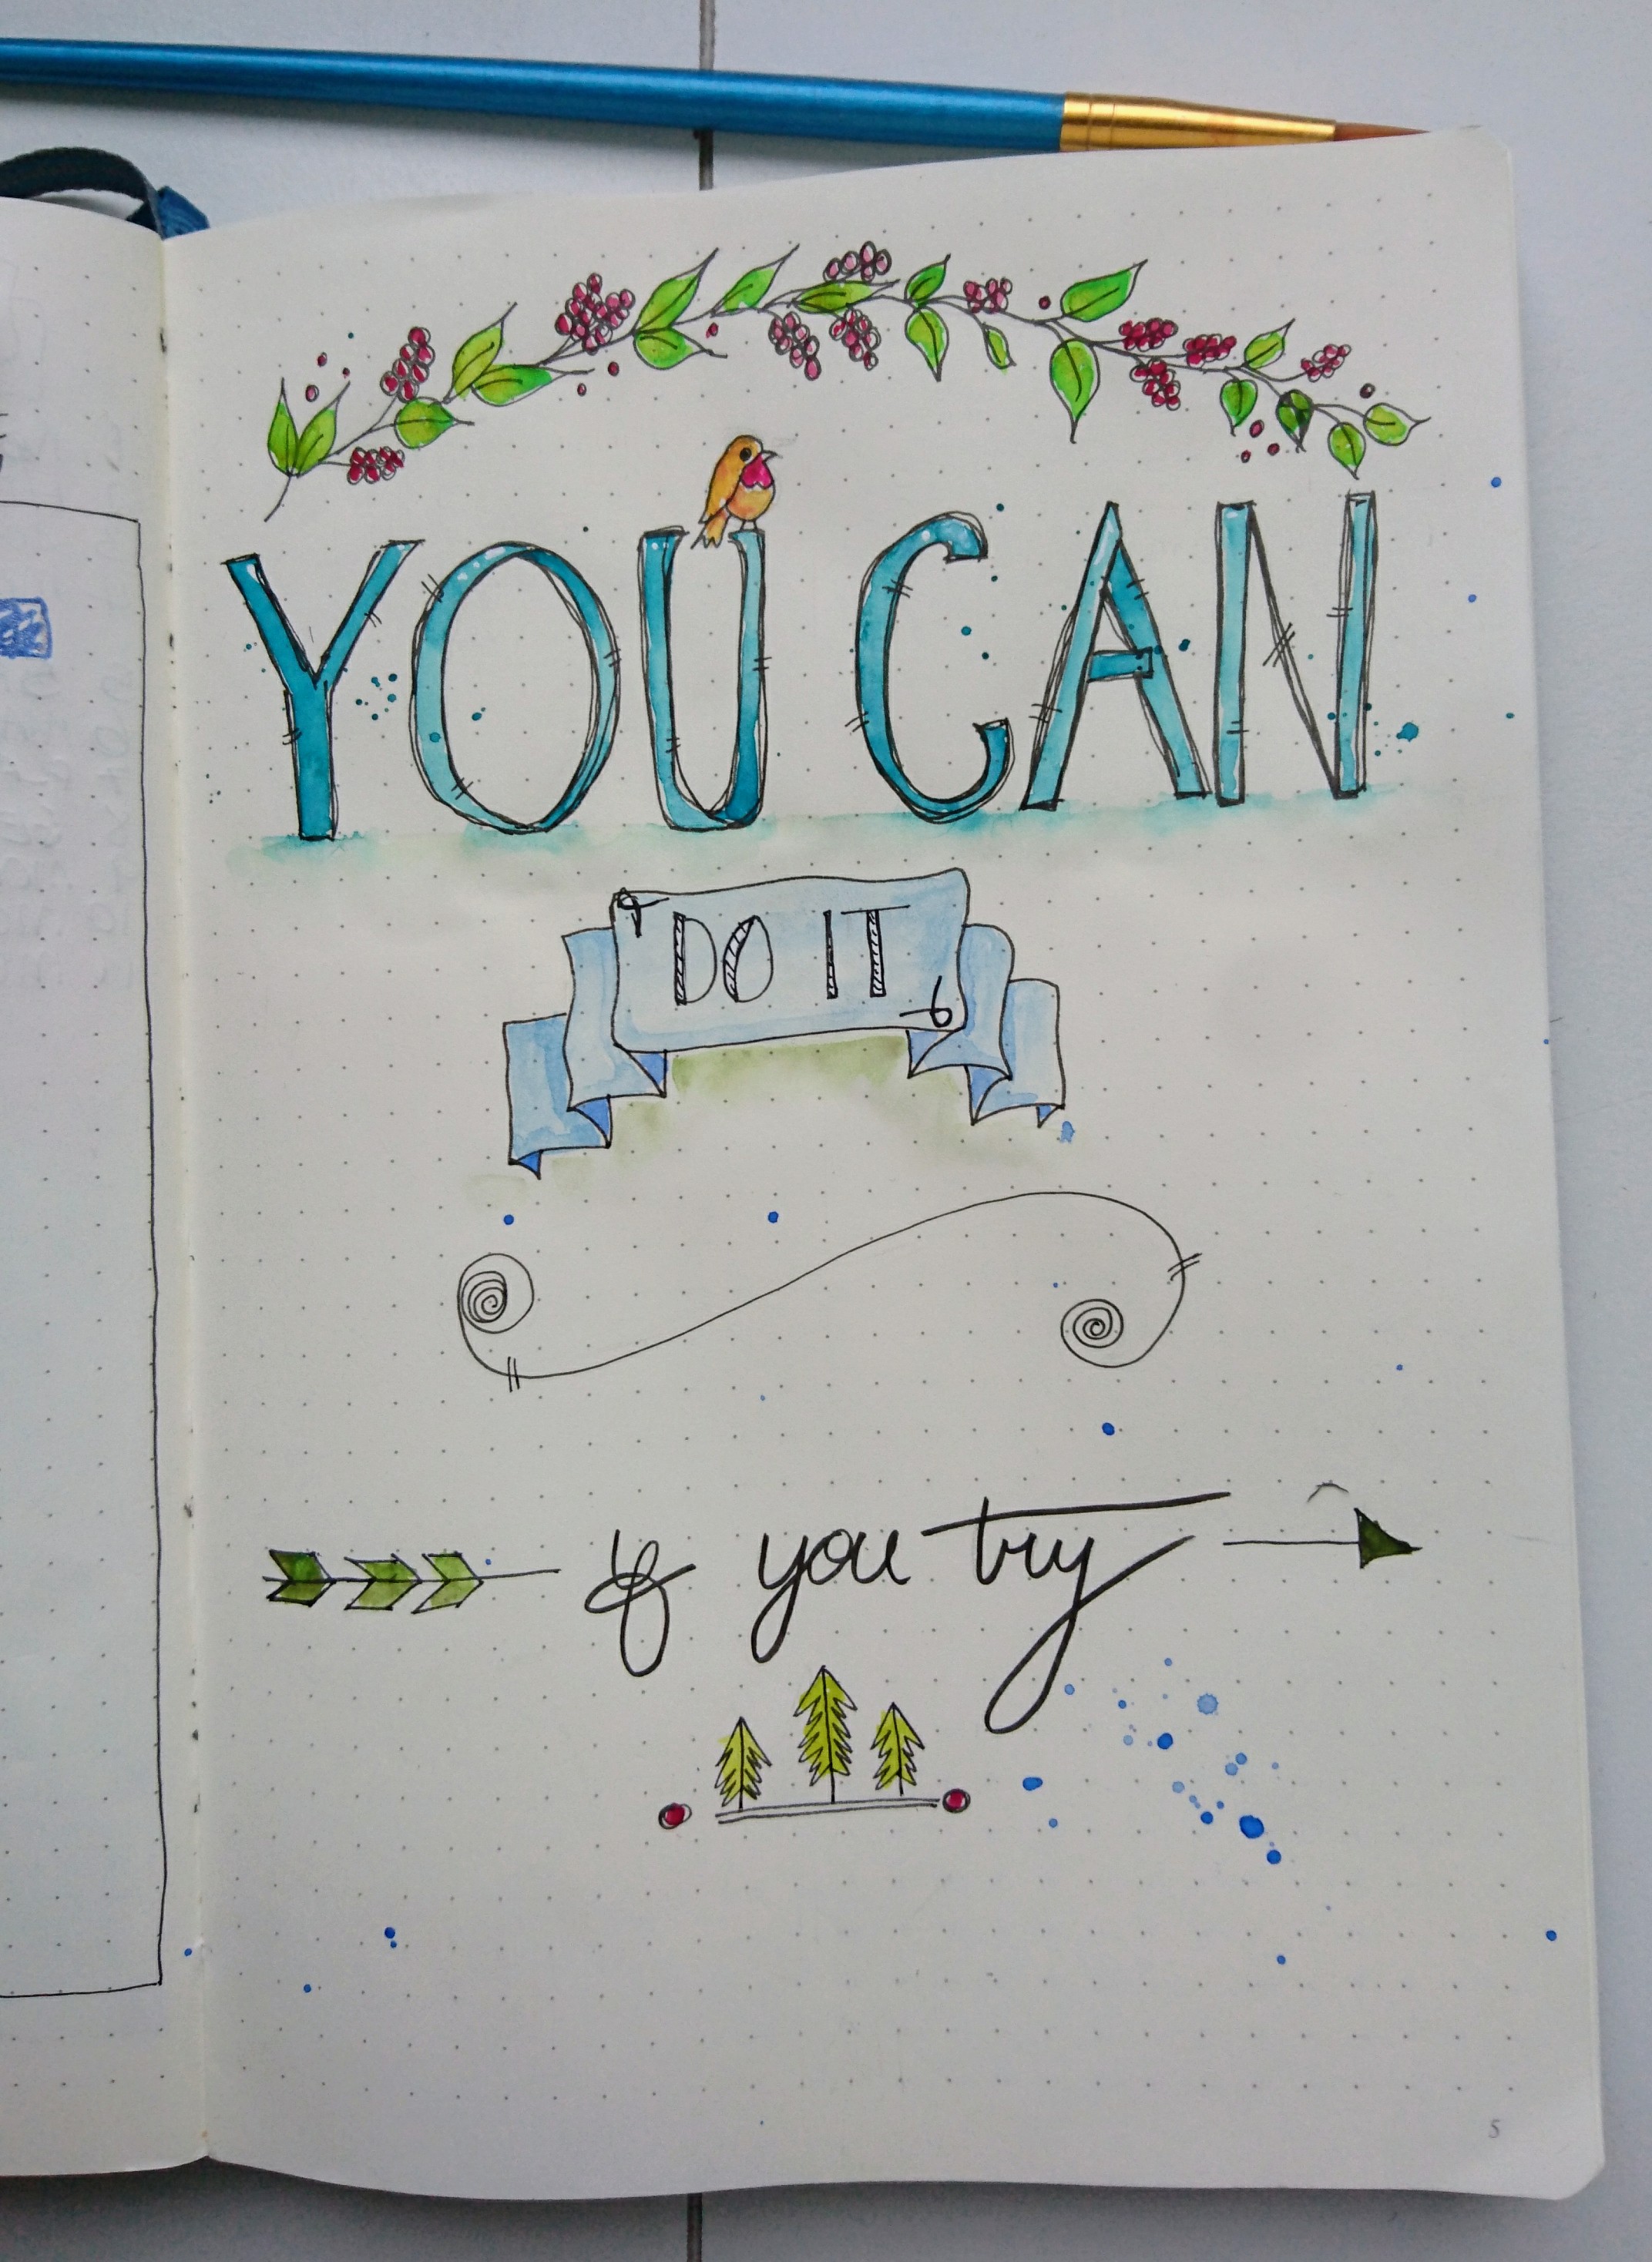
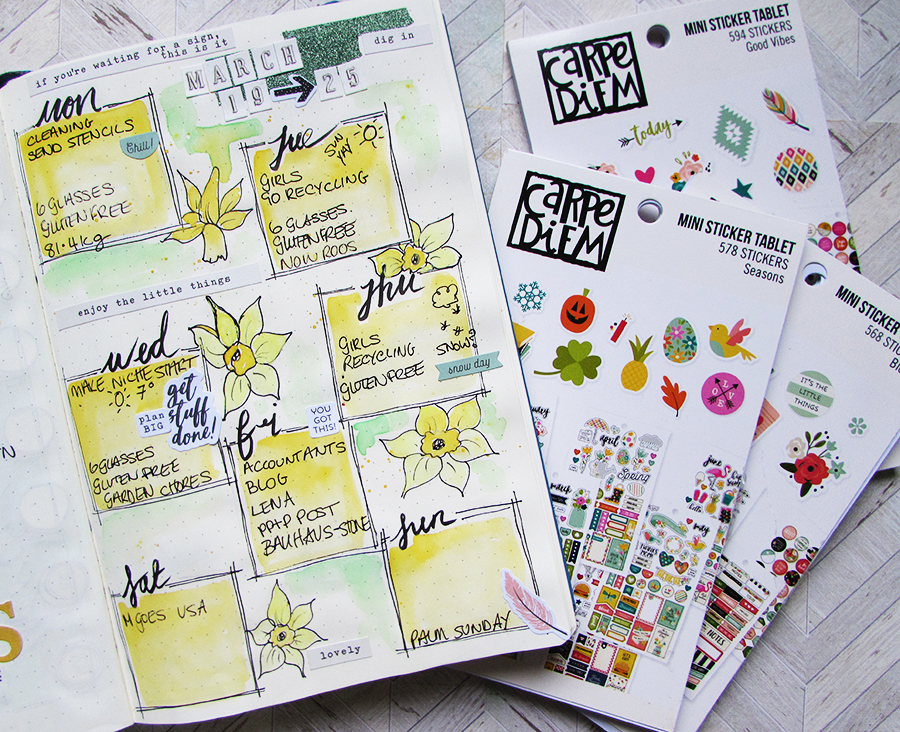
I’m still experimenting with different bullet journal layouts but the one thing I’m sticking with for now is my hand drawn style and the watercolour paints. I know this one is far from perfect but it’s definitely the style I want to continue with. The mini stickers come from Paper Pen and Plan on Etsy They’re just the perfect size too.
Have a good weekend everyone and I’ll catch up next week.
Jaine x