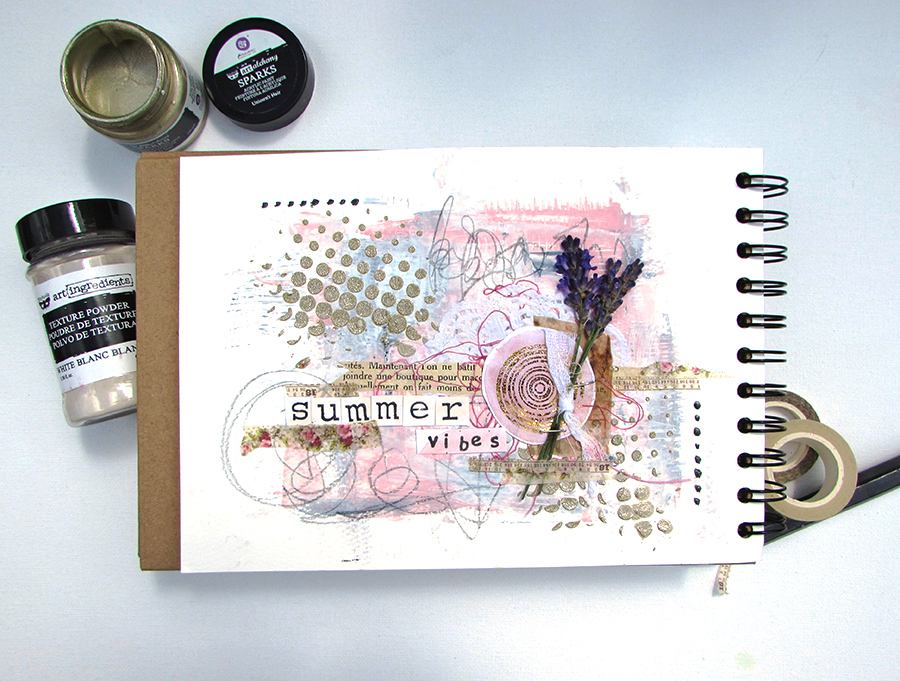
I feel like I’m back in the swing of things again and the journaling vibes are flowing nicely. I decided to add another page in my Mixed Media journal and use a new product to me. In the recent package sent by Clare at Paper Pen and Plan, was a little jar of Texture Powder by Prima. I say ‘little’ it is in fact quite substantial and if I’m careful will last me a fair while. When added to another medium it creates a texture paste.
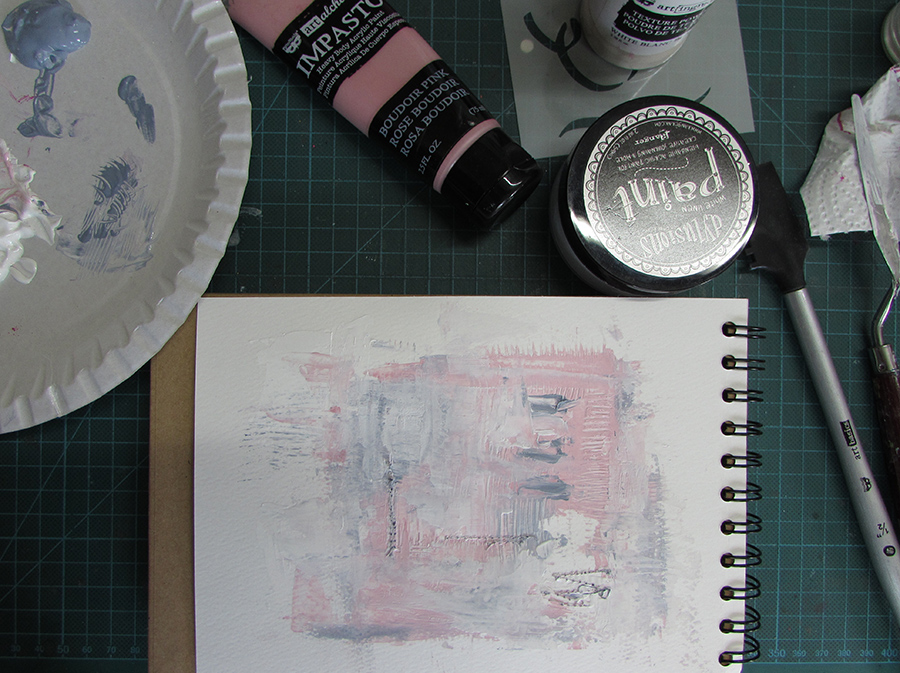
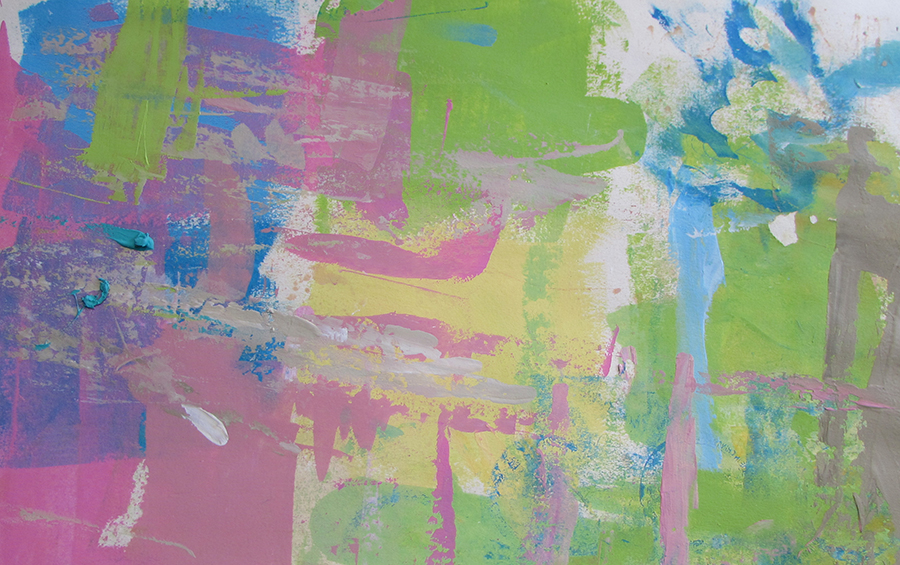
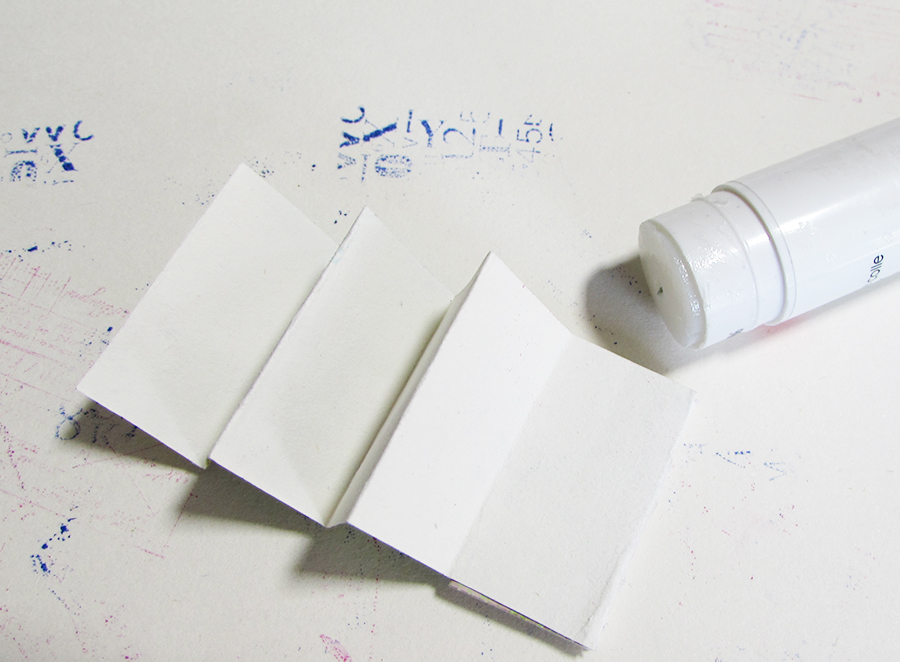
I started with a base of acrylic paint and texture added with the texture tools. It didn’t worry me that it was the backside of the page with stitching as I could just cover it with something else.
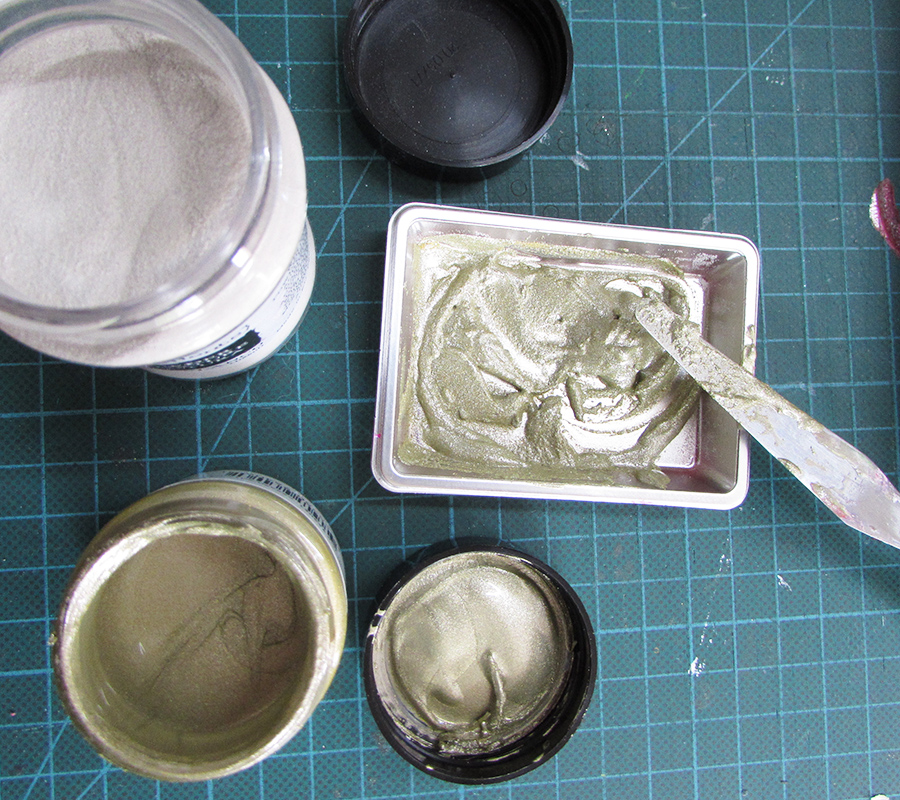
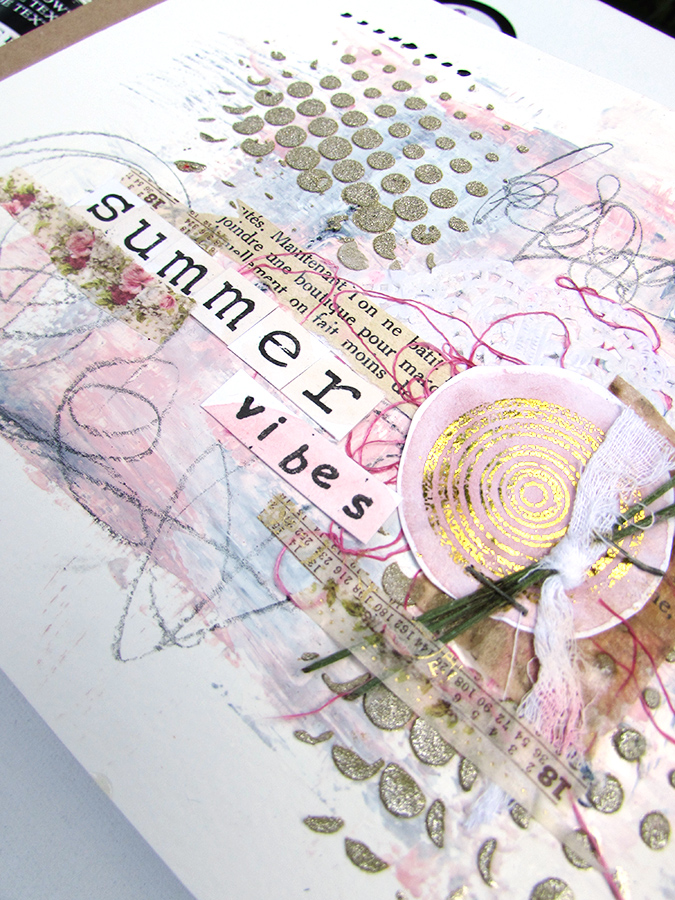
I mixed up the Texture powder with Unicorn Acrylic paint. It was just a matter of finding the right consistency myself, the Unicorn paint is already creamy so it didn’t take much powder to turn it into a useable paste.
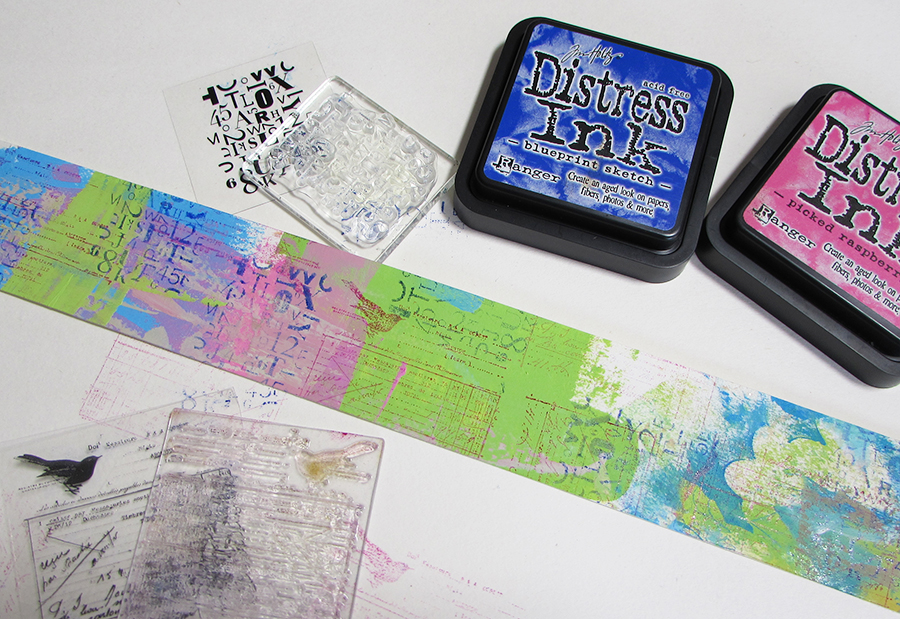
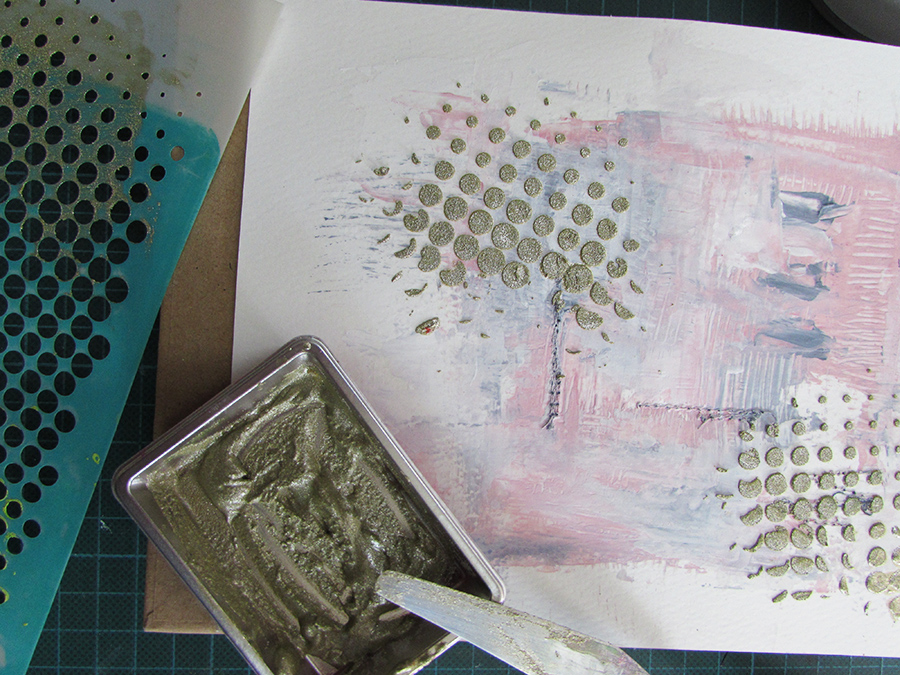
It went through a stencil perfectly and I can also say that the colour wasn’t diluted at all by the powder.
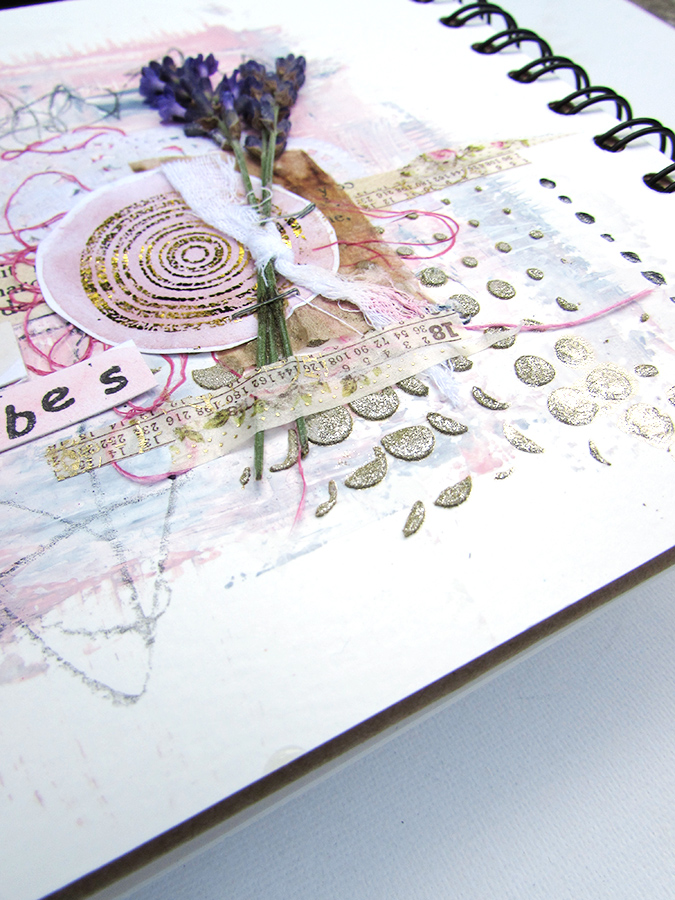
Once it was dry I added a few scribbles and a few collage bits then had a flash of inspiration and went out to cut a couple of pieces of lavendar from the garden.
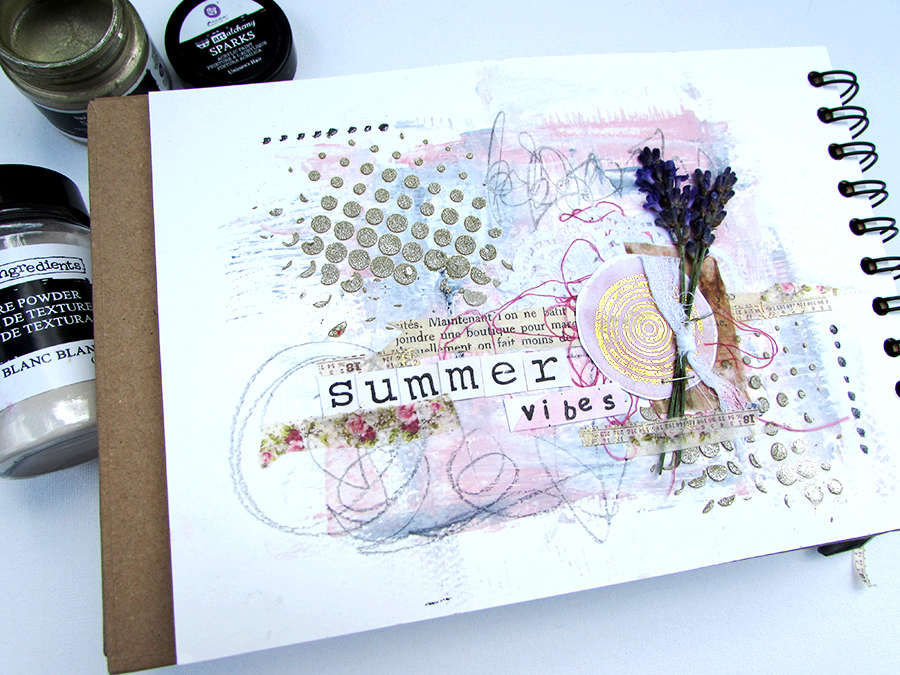
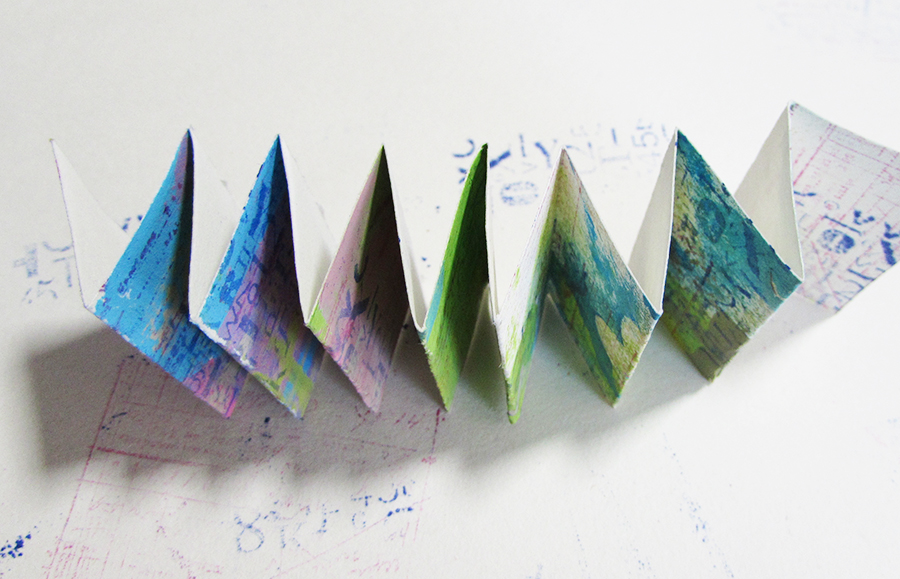
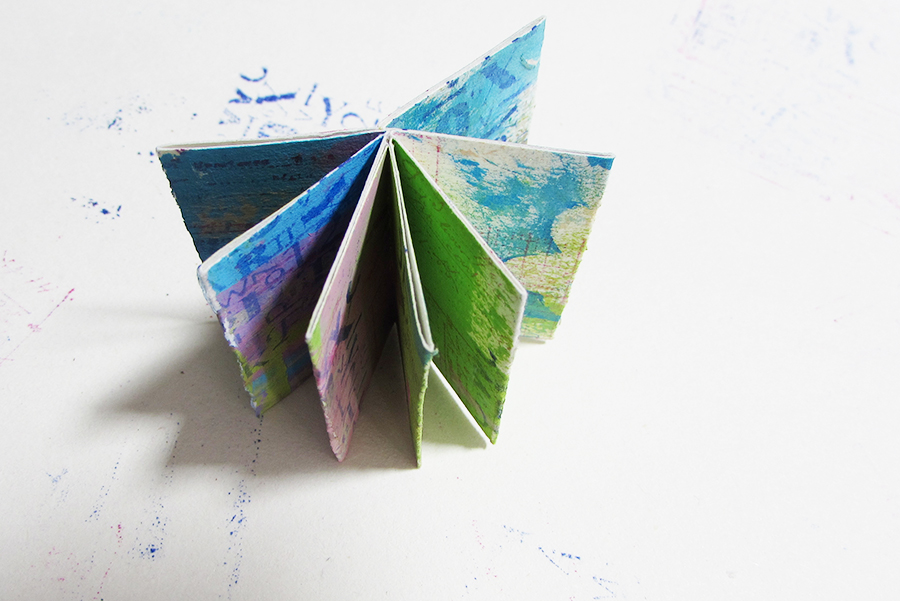
The texture is just great and again the pages of the journal stood up to it all with no trouble at all.
For Prima products and more go to Paper Pen and Plan on Etsy and get 10% off with the code JAINE10 too!
Jaine x