BOTANICAL INSPIRED MINIS

It’s been a while since I last made a mini album. A tidy and organize of my basement studio revealed some pretty papers which in truth I’d been squirrelling. All crafters have those special things they want to save for a special project but then when the special project comes up it’s always an opportunity to buy something brand spanking new!

With the Summer coming to an end and Autumn making itself known, I’ve realised I need to get a move on if I’m going to have a stock of albums ready for sale. Those ‘special’ papers were just what I needed to kickstart me into album production again. Coupled with some equally special papers which arrived from Paper Pen and Plan recently I think they look super cute.

Both of these albums have the same basic structure of 12x12x4cm hard covers with flaps and pages inside to lift, open or pull out creating a possibility to add an amazing 26 photos.

I love making these interactive albums and just can’t decide which size is my favourite. If you’d like to buy one of these albums, any others from the shop or have something made to order you can visit my shop here just click on this link.

Have a great weekend and I’ll see you here next week.

Jaine xx

a simple mini album Pt1

It’s been a while since I actually wrote a tutorial as such so I thought it was about time I made one! The inspiration for this little book came to me as I unpacked my monthly subscription box of goodies from Paper Pen and Plan (on Etsy and Facebook). The contents begged to become a mini book and as they sat there on my table on top of the box they arrived in, I could see the box itself becoming the cover. After taking the box apart I trimmed it to the size I wanted with the side of the box becoming the spine of the book. I ended up with two of these from my Sweet Treat Box so I can use the other one another time.

I sometimes use brown parcel paper to cover books. It comes on a roll so is wider than most papers, it’s sturdy enough and I rather like the kraft colour.

With the cover done, I could then move on to decorating the outside and inside with my patterned papers.

To attach my pages I made a very simple accordion hinge from a piece of patterned card. Slightly shorter than the book itself, I created three folded hinges with a half cm gap in between. So starting with a score at 2cm then 3.5, 5, 5.5, 7, 8.5, 9, 10.5, and 12.

I glued the three mountain folds together to form the hinges for the book,

then glued this to the spine of the book. I scored each side where the book would fold and left it to dry.

For my pages I took black card. I like using black card as it really shows off any paper you put on top of it. I measured how big I wanted the page to be and doubled it across the width to be able to fold it in half and added double sided tape on the ends and sides. I only needed to tape one half in actual fact. Laying the taped page under the first hinge I could press the hinge down onto the card. I then folded the page in half and pressed the other taped end down onto the hinge. First page done!

I did the same for the remaining two pages.

I think it’s cute. Now to decorate… For that one you’ll have to come back next week to see how it turned out.

Have a great weekend

Jaine xx

Welcome Aboard Mini Album

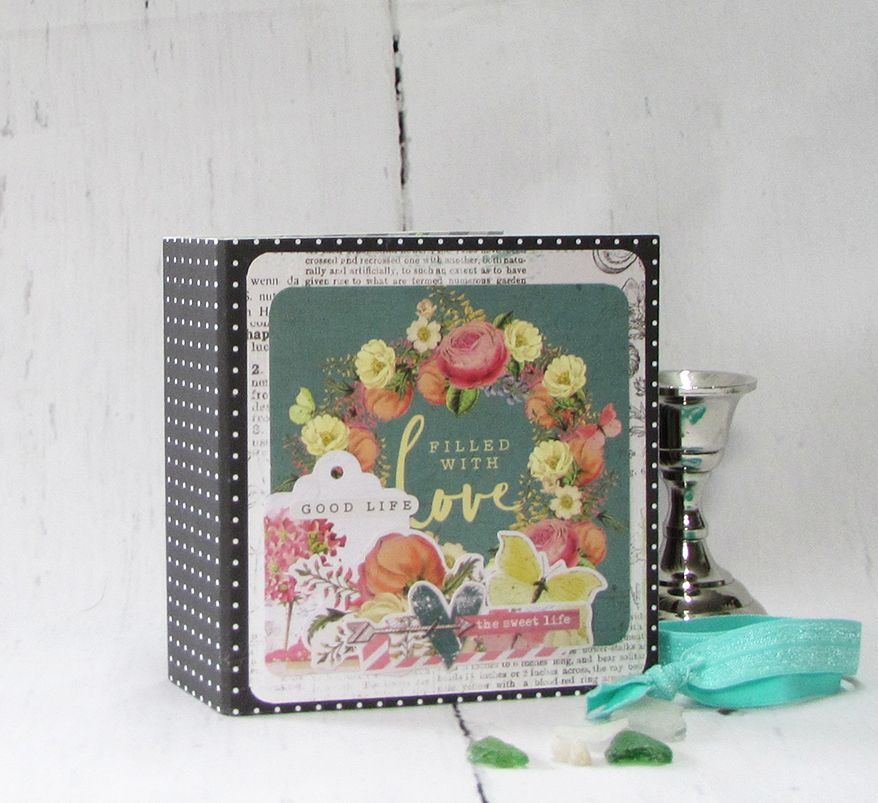
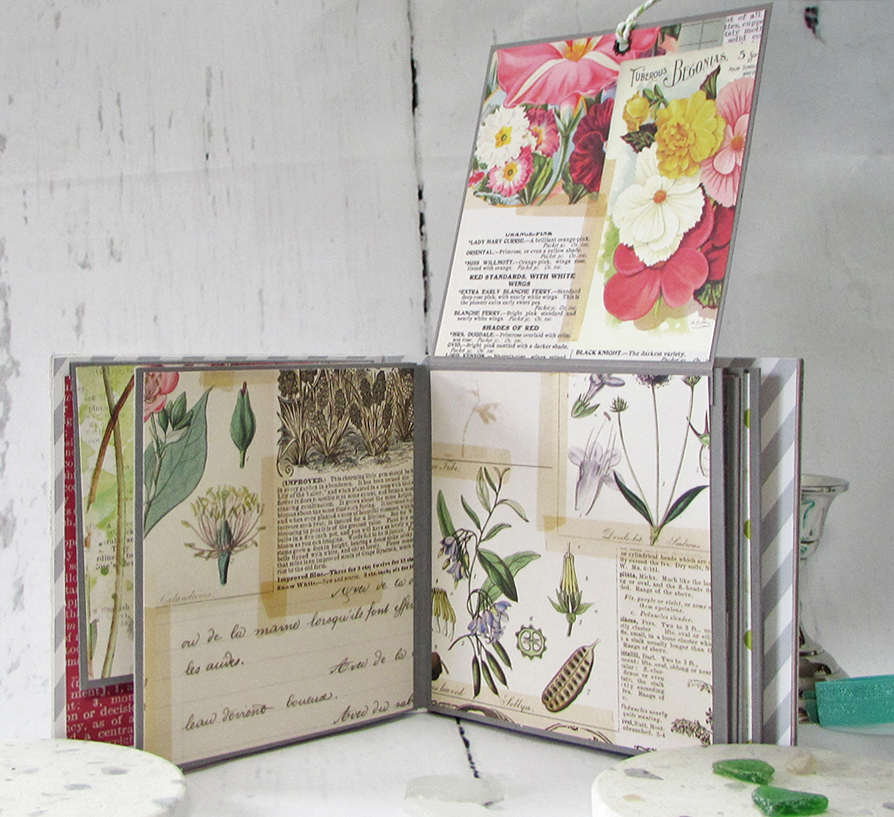
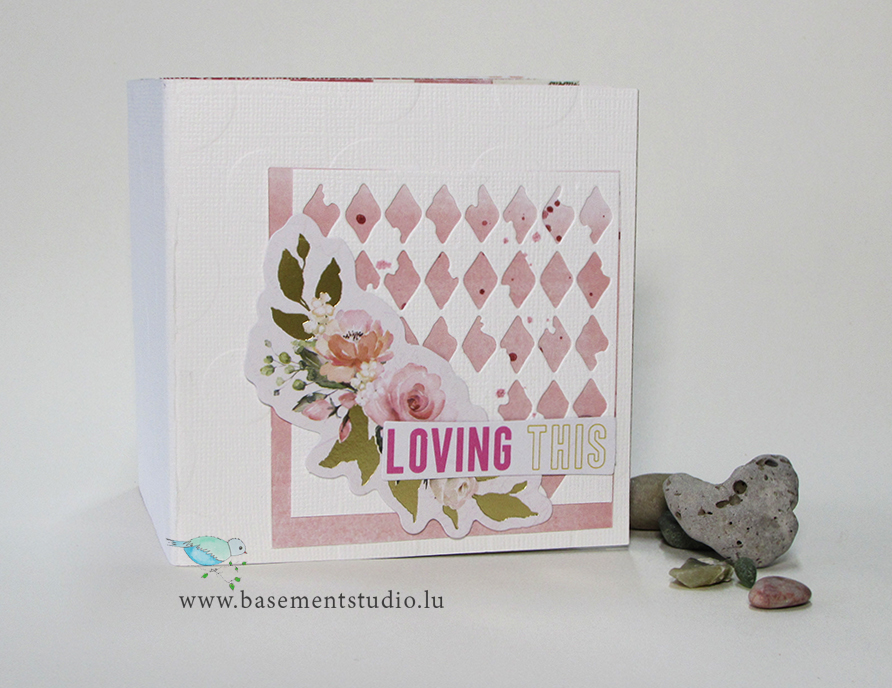
I am enjoying every minute of creating these cute mini albums. Each one holds something special and this one is particularly special.

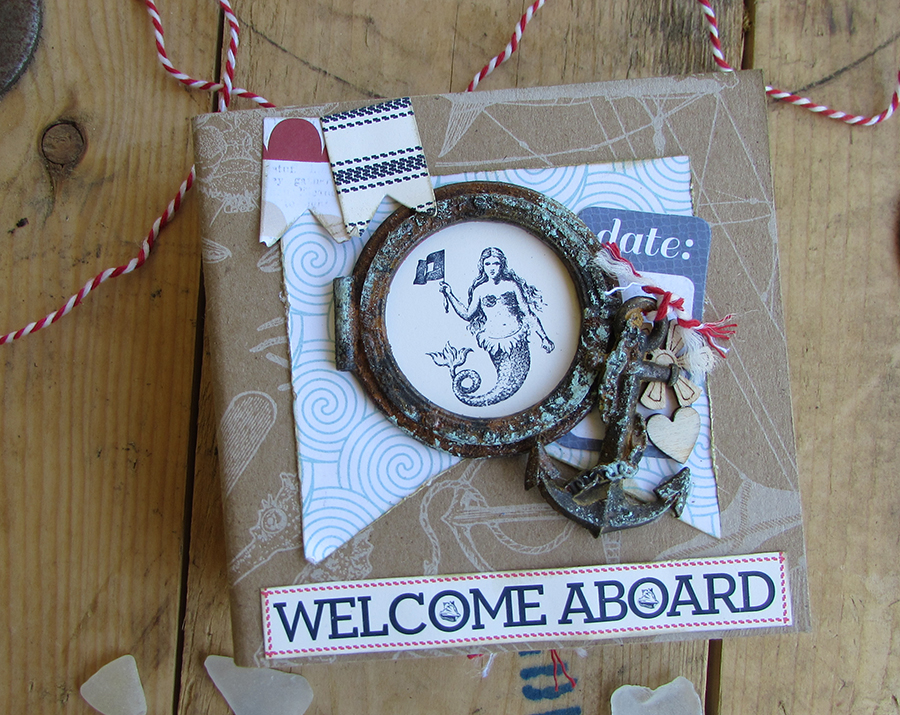
In my work with Craft Stamper magazine I frequently meet some really lovely people, and was recently very kindly sent a packet of amazing embellishments from a lovely company called MITFORM in Poland. They have the most fantastic range of metal castings for scrapbooking covering all tastes and styles. It was this nautical range of castings which inspired me to create this latest mini album.

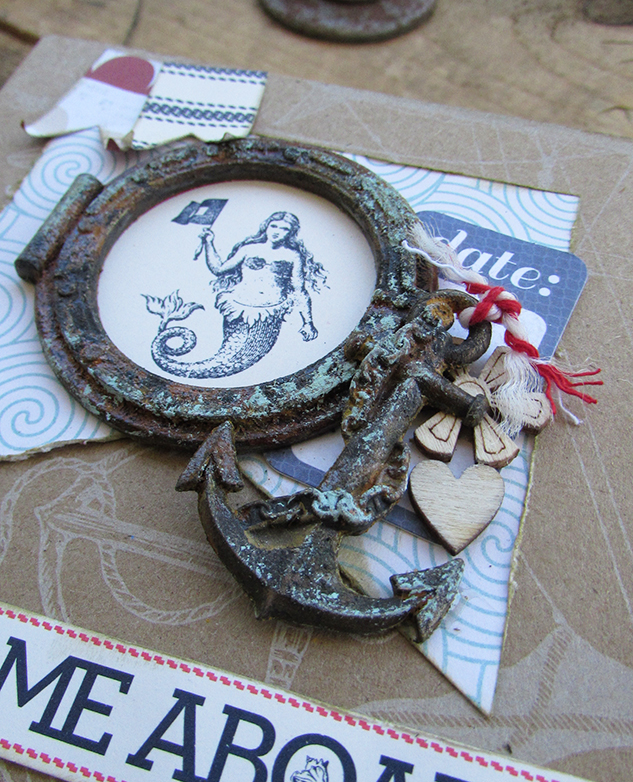
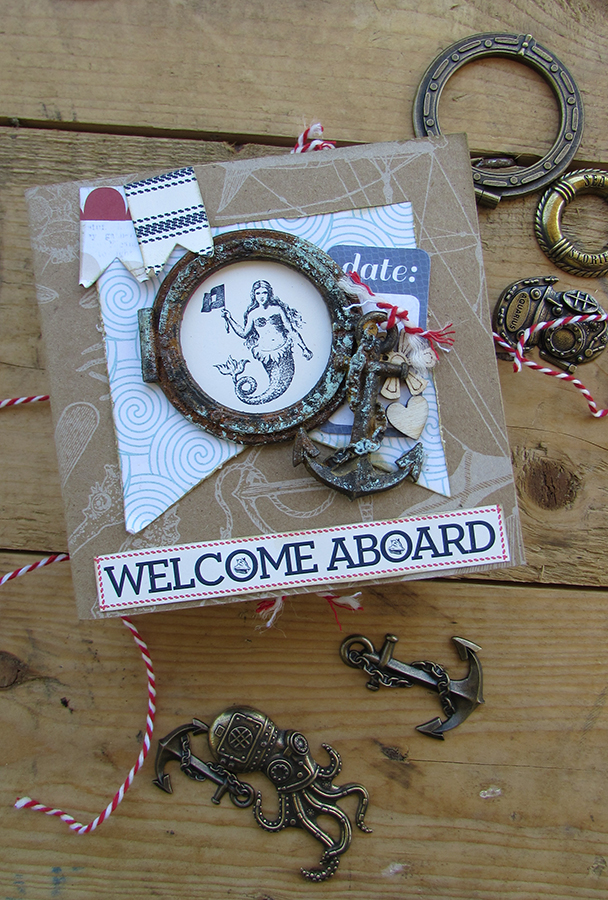
Even though the castings are beautiful as they are, I decided to give them a more distressed look, as if they’ve been dredged up from the sea bed. I’m very pleased how well it worked.

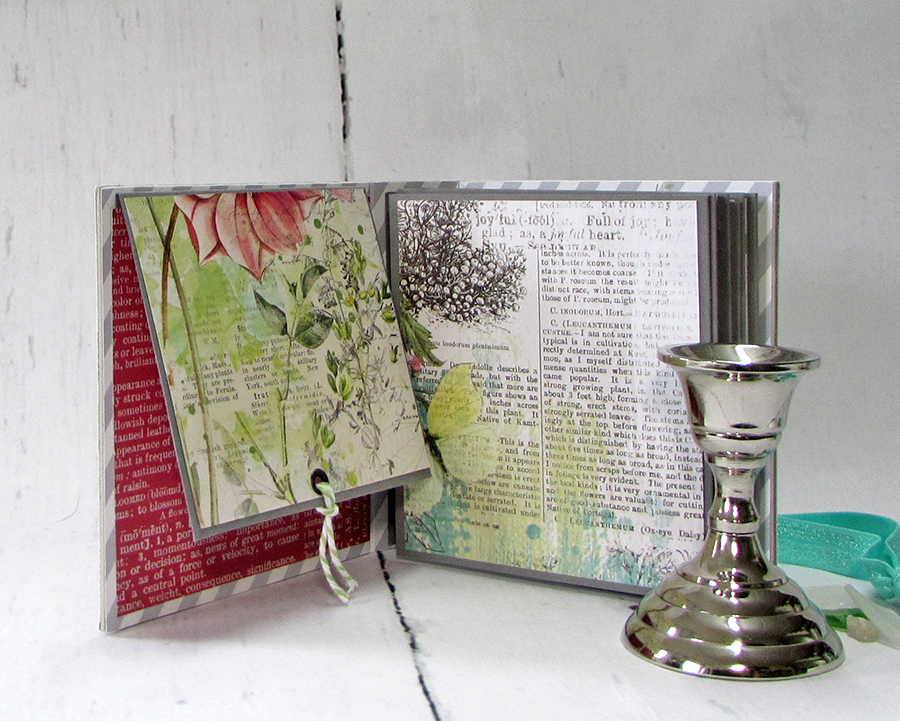
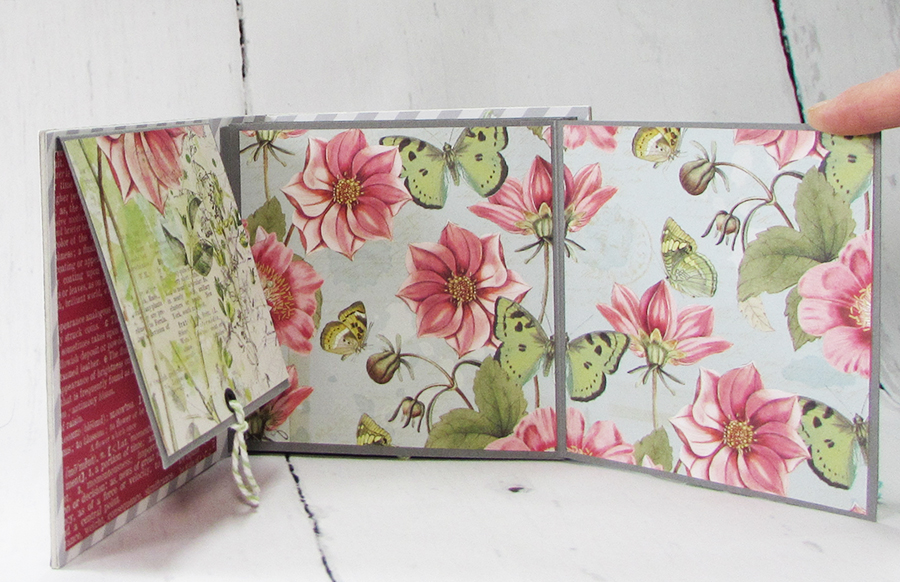
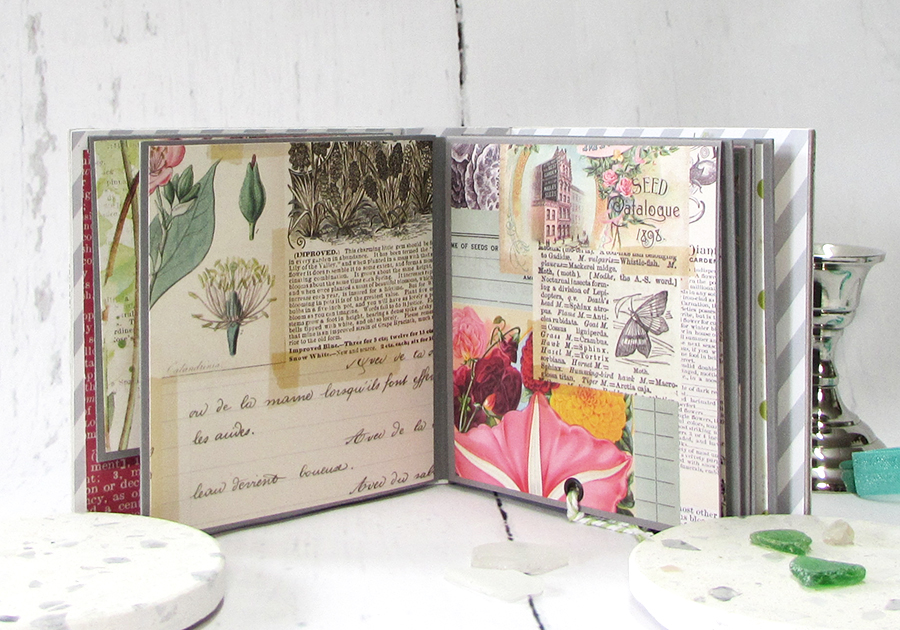
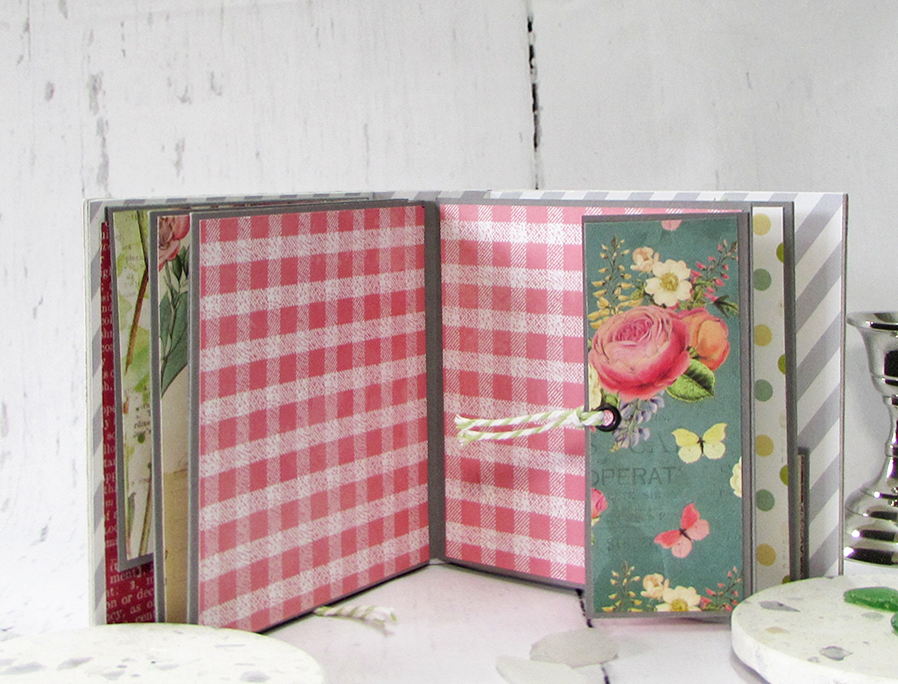
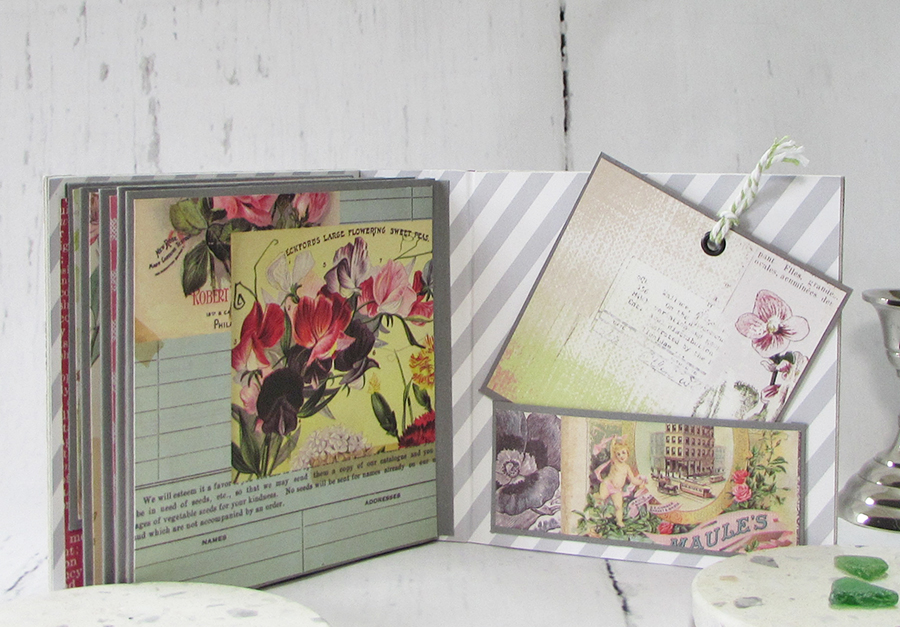
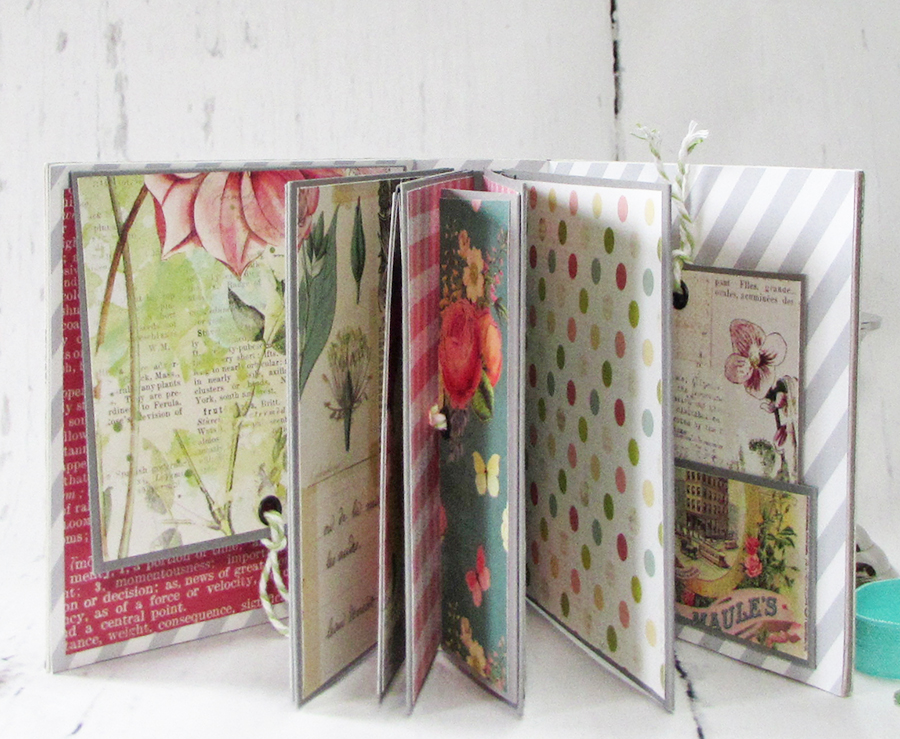
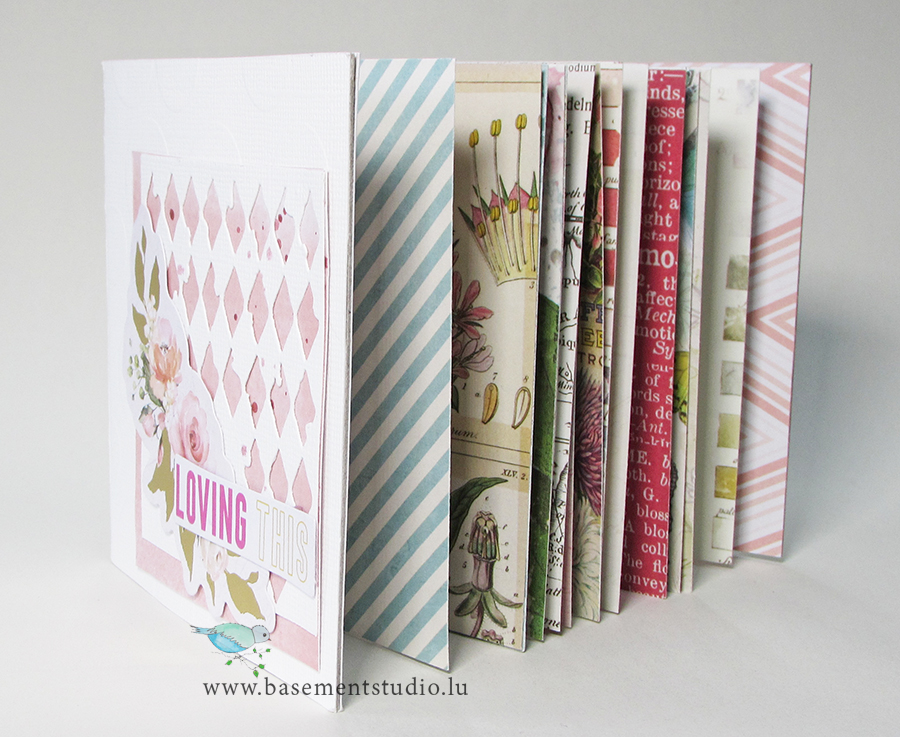
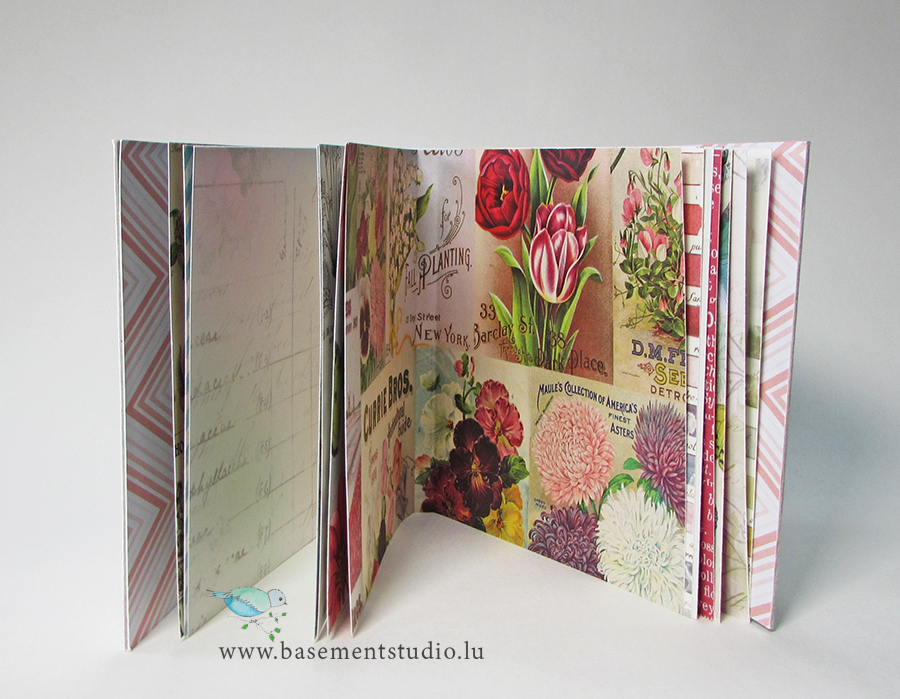
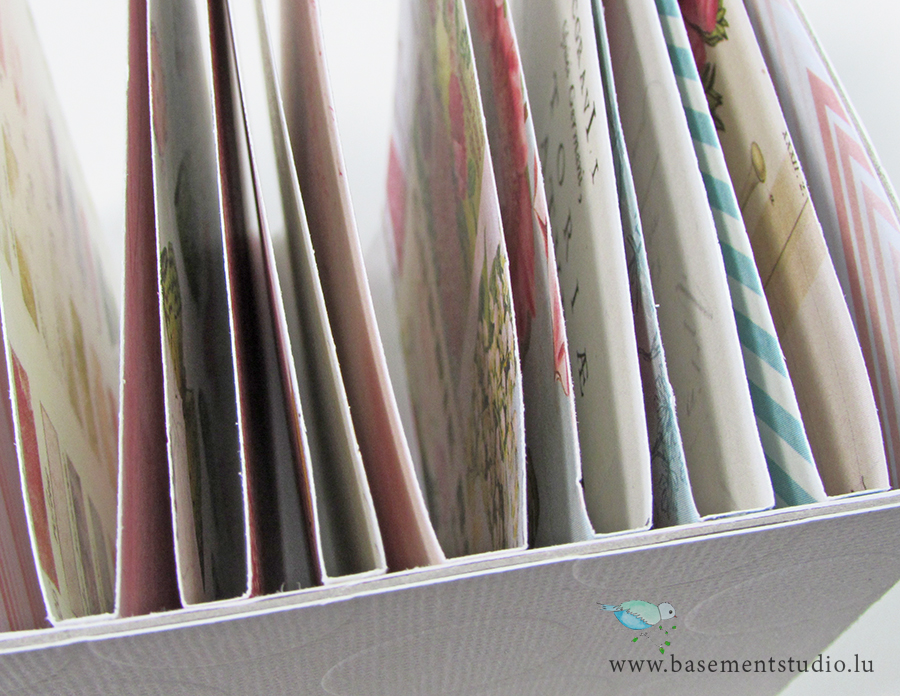
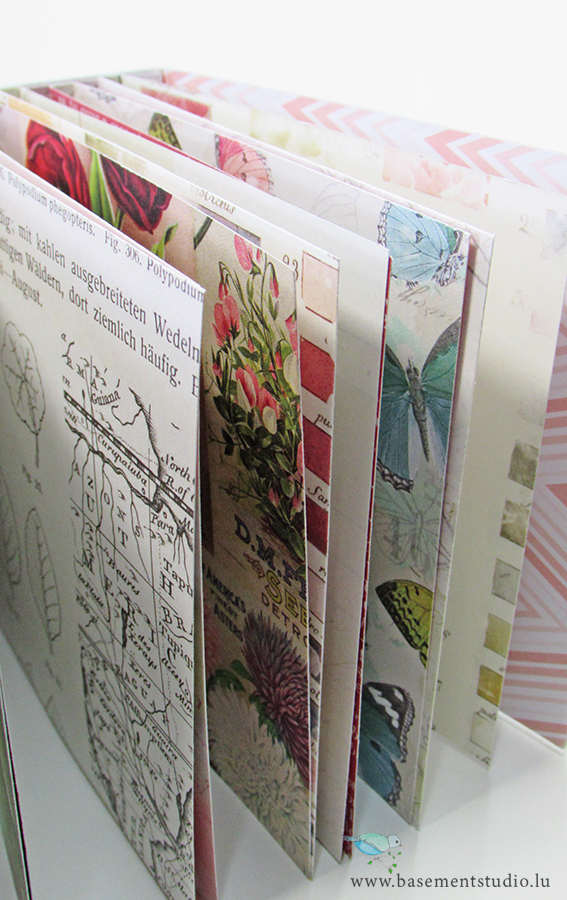
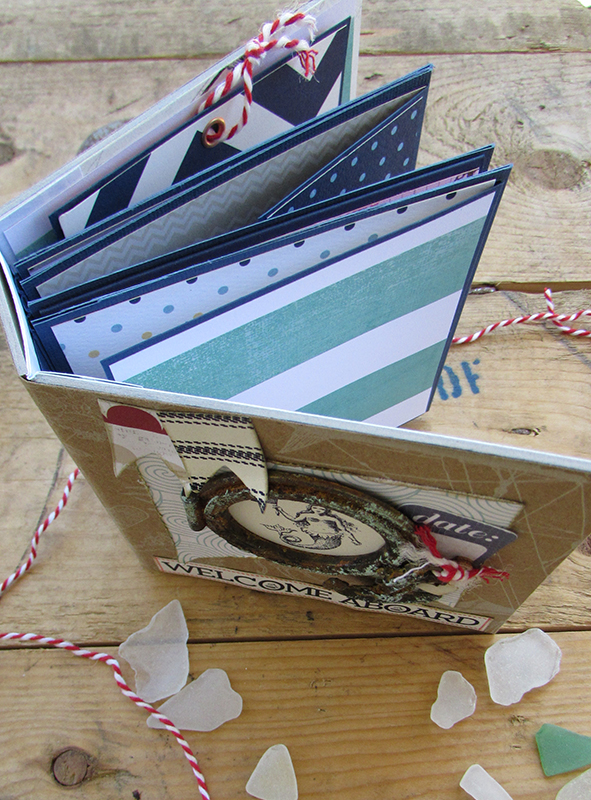
The book inside is filled with pull out flaps and extra pages so for its size it still holds lots of photos.

This little mini will be listed in my shop for sale which you can find by following the link here. MITFORM embellishments can be found at www.mitform.com or Craft Box in the UK.

Have a great weekend and stay safe

Jaine xx

May Day

The beginning of April felt like it was going to be such a drag to get through the whole month in a lock down situation, with no where to go and no one to see! However it did pretty much fly by with a whole month of sunshine (no rain until a couple of days ago) and plenty of outside chores to do.

I’ve been experimenting with book folds and gone back to where I started in scrapbooking. These albums with a wide spine and wide gaps between page hinges are great for adding bulky embellishments and excellent for keeping everything neat without having stuff bursting out of the sides. Personally I don’t mind a bit of a fat book but not everyone does.

12 x 12 MINI ALBUM

These books make fabulous albums for special occasions and include pockets, flaps and fold out pages for lots of extra space.

This one has been decorated with a mixture of two paper packs by Simple Stories Vintage Garden District and Vintage Botanicals both from Paper Pen and Plan. It has 4 pages but each page includes an extra fold out page or flap so there’s actually enough space for up to 19 square format photos.

It’ll be hard to let this little one go but it has be listed in my shop here simply click on this link.

Have a lovely day and stay safe.

Jaine xx