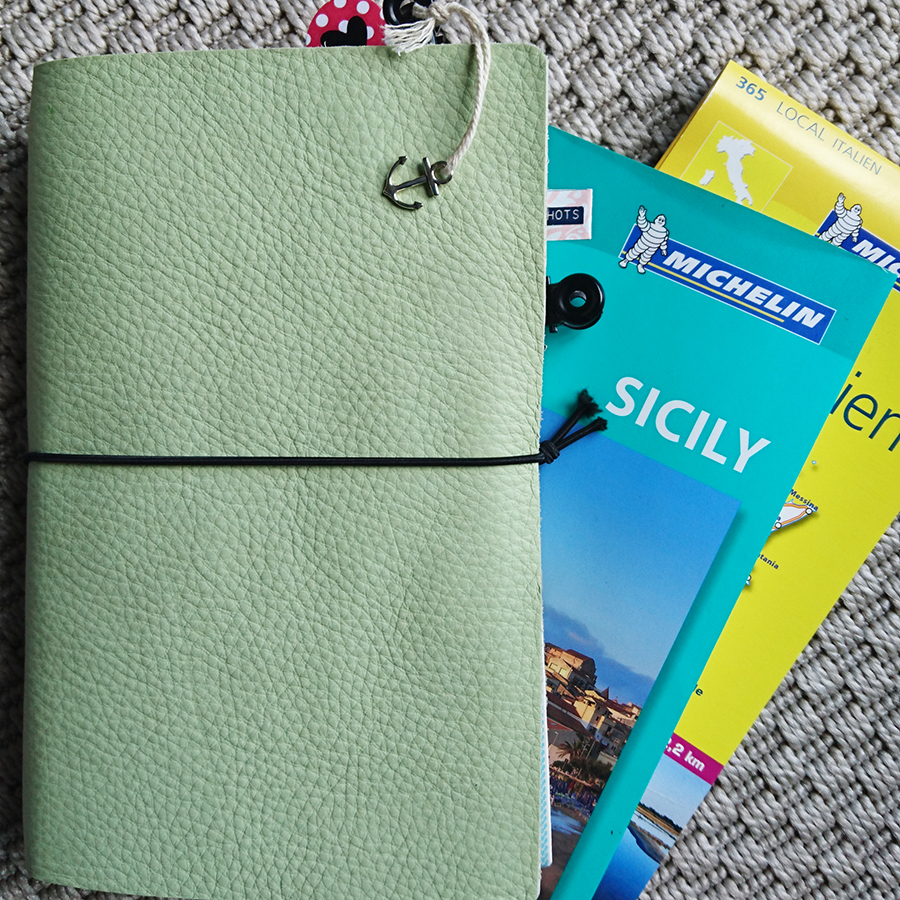
I love Autumn especially living here in a country blanketed by forest. When the leaves turn it’s magical.
We do tend to get nice weather in Autumn and as I sit here it’s the first of September already the sky is blue and the garden is calling.
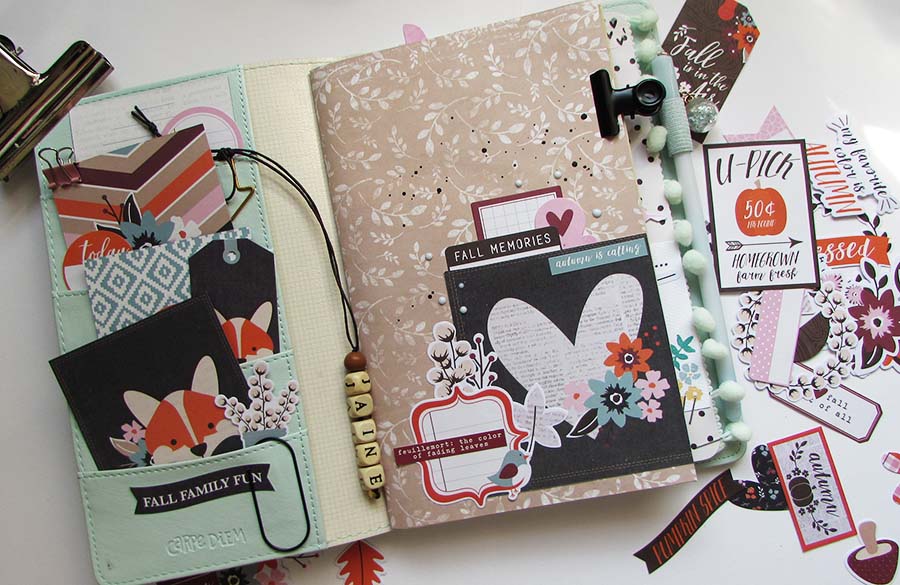
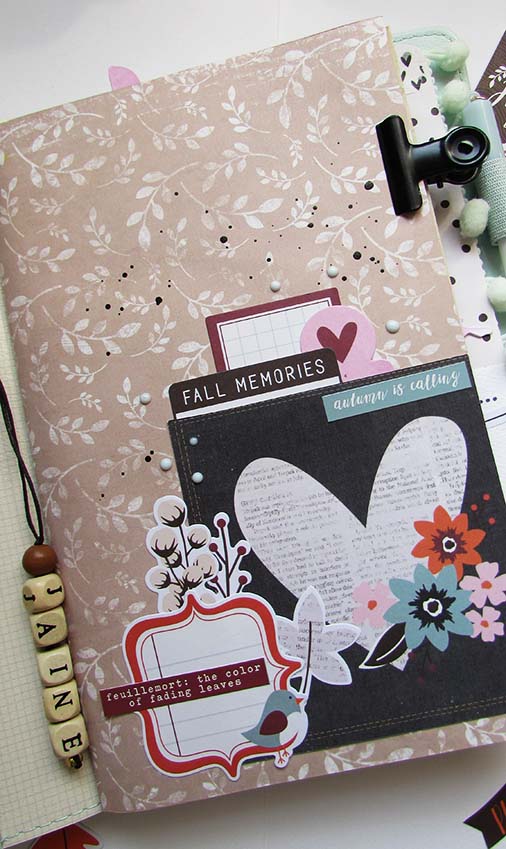
This Autumn I start a new chapter in my life which I’ll go into in a bit more detail about next week but for now I need a new planner set up to help me get ahead so I thought I’d work in my Carpe Diem from Simple Stories along with the new Forever Fall collection.
It’s an absolute gorgeous collection and the colours are right up my street.
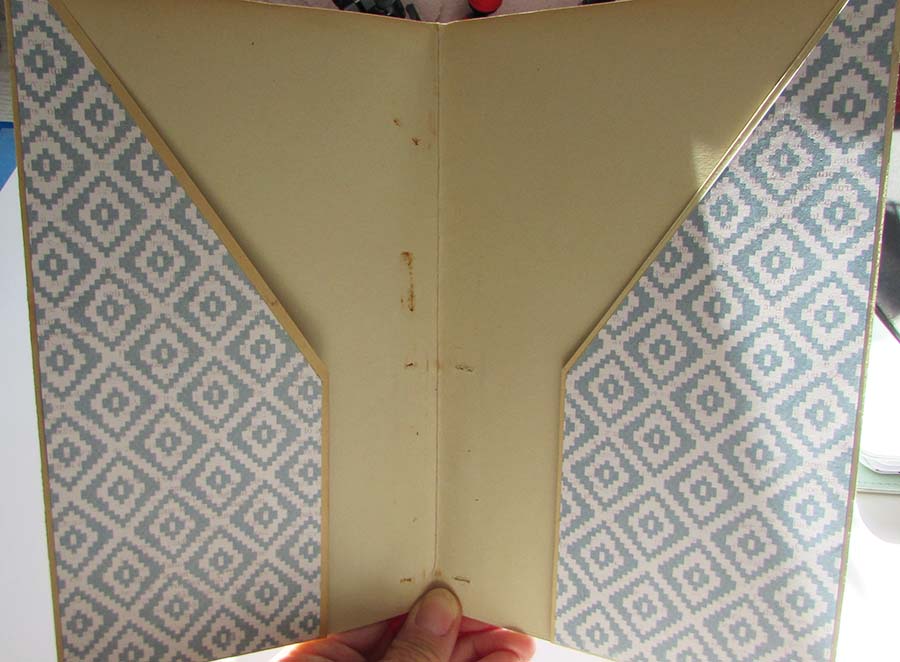
I decided to make myself a wrap around for one of my inserts from a file folder which is so easy to do. I can’t take all of the credit for this one, I saw it once on the internet but for the life of me I can’t remember where I originally saw it so sadly can’t give the credit where it’s due.
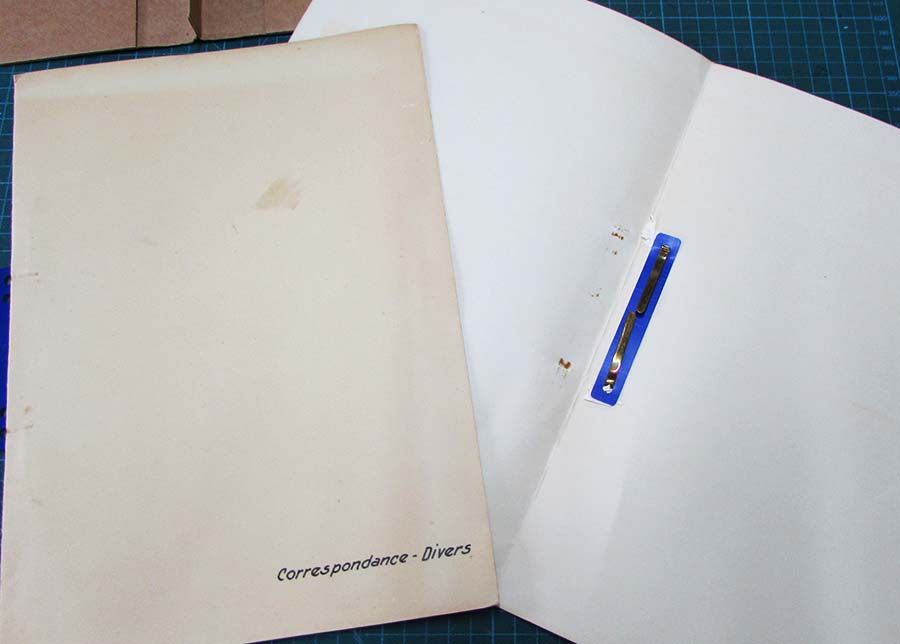
To make a wrap around pocket cover you’ll need to get hold of a card file folder. With school starting there are plenty around and you can pick up a pack of colourful ones for very little money. I just happened to have a few old ones which I found in the recycling centre which is what I’m using here.
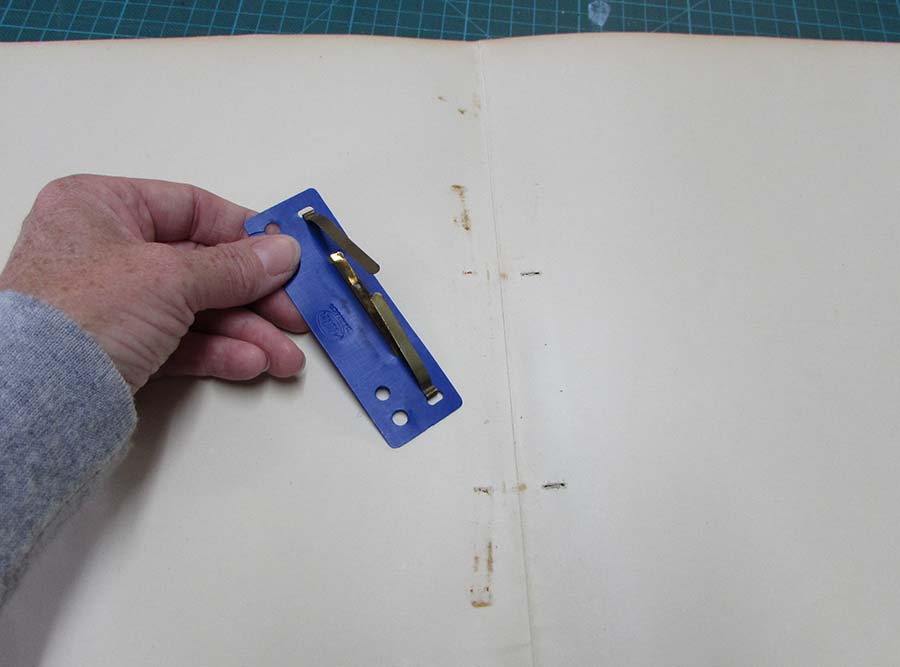
The first thing you need to do is take out the metal and plastic holders if that’s possible. If you can’t do that with yours I suggest you work it into the finished design and take advantage of it.
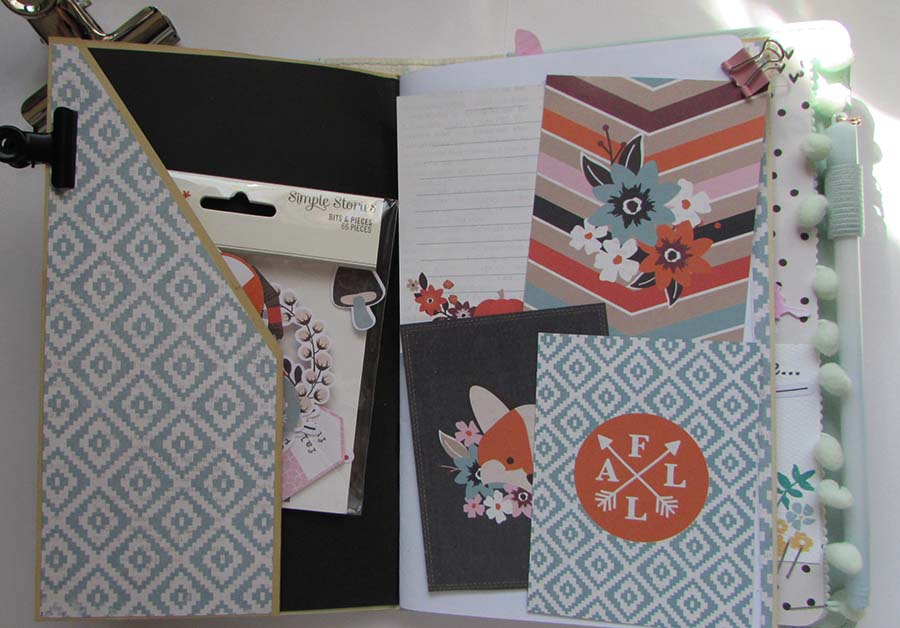
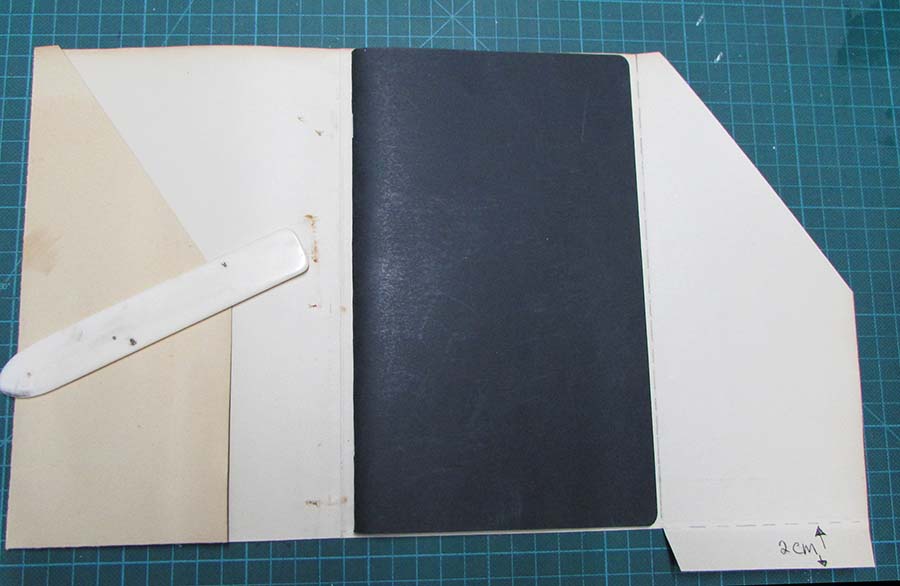
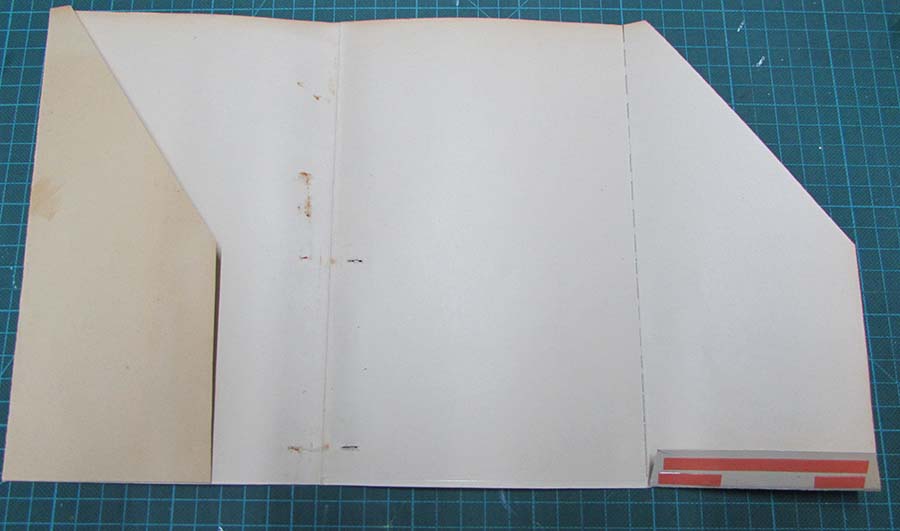
Next mark off where you need to cut and fold. Measure the wrap around using your insert and fold the two side pockets in. When it comes to cutting off the excess at the bottom leave a flap of about two cm’s at the bottom of each pocket. Cut a diagonal piece off each pocket.
Put double sided tape or glue along the bottom flaps and fold them in and that’s all there is to it. Now you get to do the fun bit which is the decorating.
It wraps around an insert perfectly and also makes a nice cover if as I’ve done you slip the covers into the pockets.
All materials come from PaperPenAnd Plan on Etsy which you can find here and if you use the code JAINE10 you can get an extra 10% off your order.
Have a good weekend and I’ll speak to you soon
Jaine xx







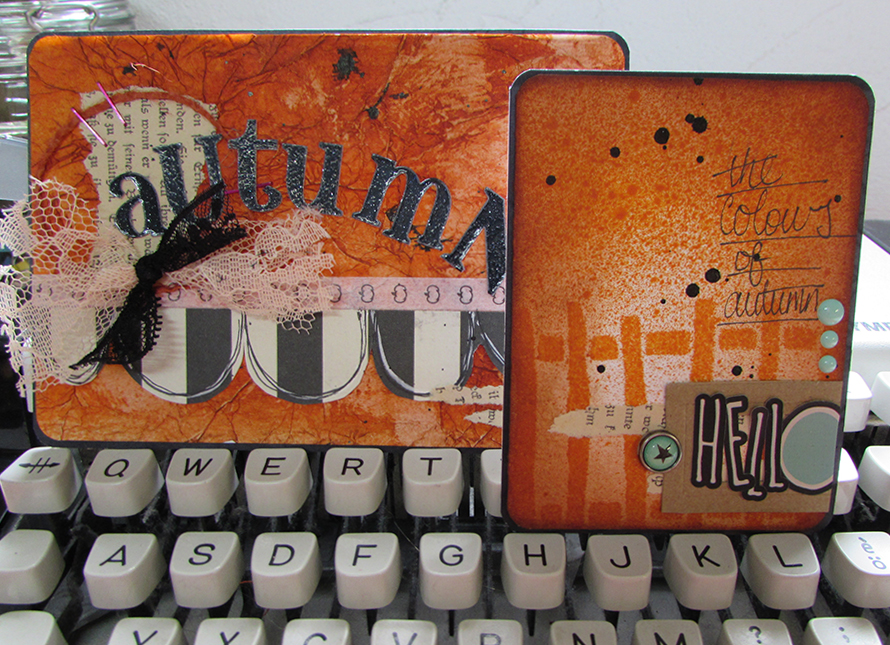
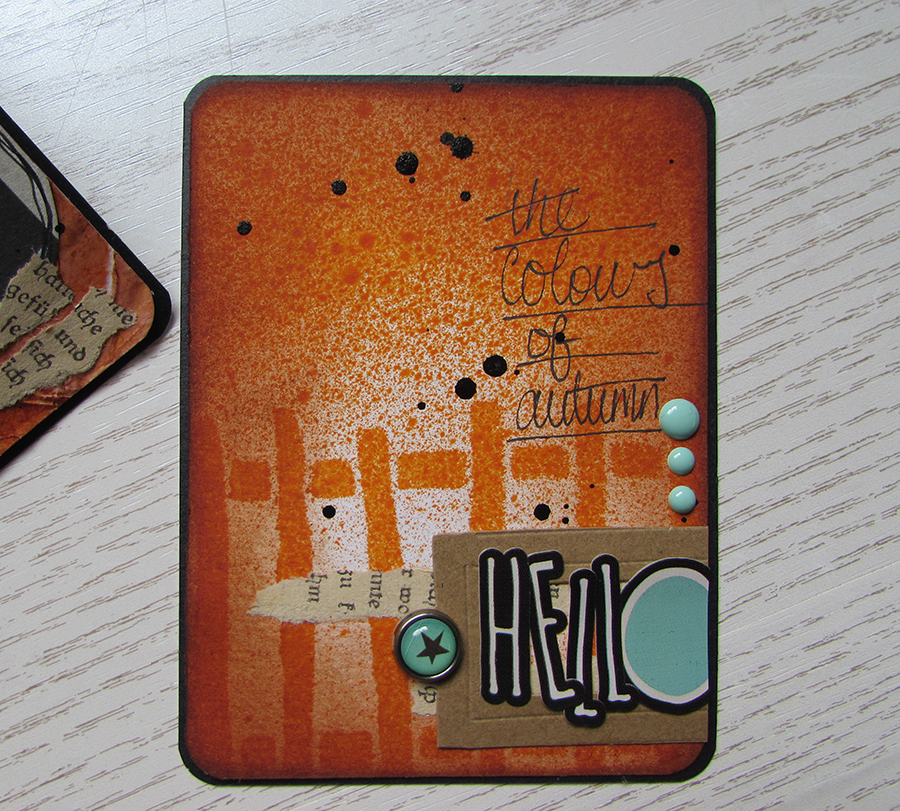
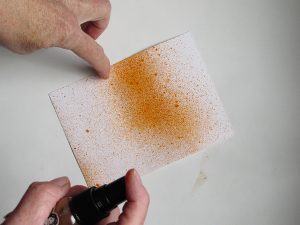
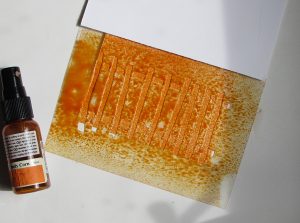 holding the spray not to close to the paper, I sprayed ink lightly to give my paper a bit of a background.
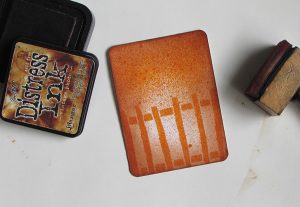 I trimmed down the paper into the size I wanted and used some Distress ink to darken the edges.
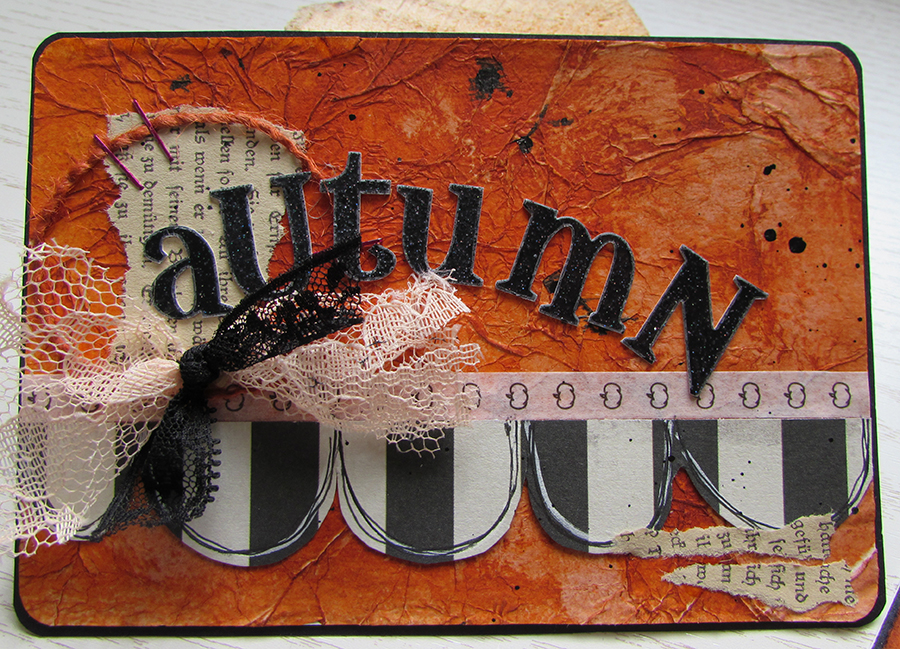
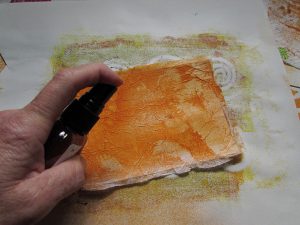 On the bigger card I first scrunched up some tissue paper and used it to cover the surface which gave it this distressed surface.
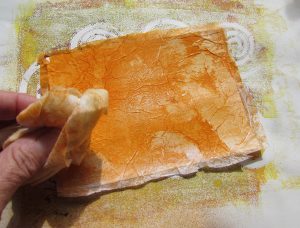
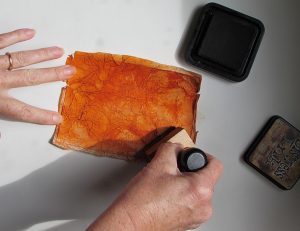 Again I sort of wiped over it with some Distress ink to enhance the creases in the tissue.
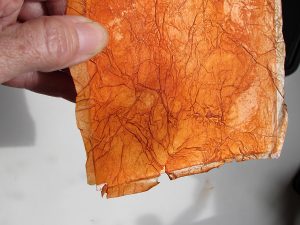 I think it looks really cracked and distressed with the ink.